
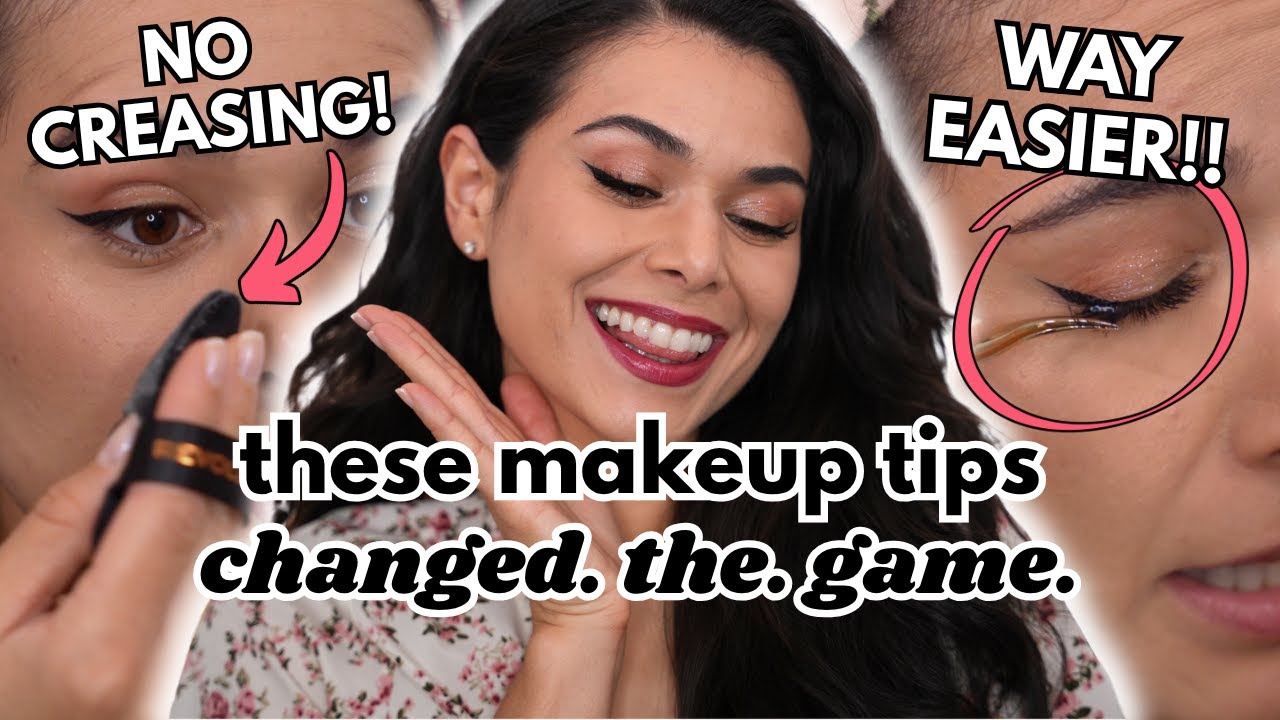
You want to look flawless in every photo, right? But sometimes, makeup that looks great in person can fall flat on camera.
The good news is, with the right makeup tips for pictures, you can make your features pop and avoid common photo pitfalls. Imagine having the confidence to smile naturally, knowing your makeup will enhance your best angles under any lighting.
Keep reading, and you’ll discover simple tricks that photographers swear by to help you shine in every shot. Your next picture-perfect moment is just a few tips away!
Prep Your Skin
Preparing your skin is the first and most important step for makeup that looks great in photos. Clean, smooth skin helps makeup apply evenly and last longer. It also prevents your face from looking cakey or shiny under the camera light. Follow these simple steps to get your skin ready for picture-perfect makeup.
Cleanse And Moisturize
Start by washing your face with a gentle cleanser. This removes dirt, oil, and old makeup. Clean skin creates a fresh base for makeup. After cleansing, apply a light moisturizer. Moisturizer keeps skin hydrated and smooth. It stops makeup from clinging to dry patches. Choose a moisturizer that suits your skin type for best results.
Prime For Longevity
Use a face primer after moisturizing. Primer creates a smooth surface and helps makeup stay put. It fills in fine lines and blurs pores. This gives your skin a soft, even finish. Some primers also control shine or add a subtle glow. Pick a primer that matches your skin needs. This step ensures makeup looks fresh throughout your photoshoot.
Choose The Right Foundation
Choosing the right foundation is key to perfect makeup for pictures. It creates a smooth base that enhances your skin’s natural beauty. The right foundation evens out skin tone and reduces shine or dullness. It helps your makeup look fresh and flawless in photos. Pick a foundation that blends well and suits your skin type.
Match Your Skin Tone
Find a foundation that matches your skin tone exactly. Test shades along your jawline for the best match. The right color should disappear into your skin without leaving a line. Avoid shades that are too light or too dark. Proper matching prevents a mask-like effect in photos.
Opt For Matte Or Dewy Finish
Choose a finish based on your skin type and the photo style. Matte foundations work well for oily skin and reduce shine. They give a smooth, non-reflective look in pictures. Dewy foundations add a healthy glow and suit dry or normal skin. They create a fresh, radiant effect on camera.
Conceal And Highlight
Concealing and highlighting create a perfect balance for photos. They help skin look smooth and bright. Using these techniques enhances your natural beauty in pictures. The right touch of conceal and highlight brings out your best features. It also hides any flaws that catch the camera’s eye.
Cover Imperfections
Start by choosing a concealer that matches your skin tone. Dab it gently on spots, redness, or dark circles. Use a small brush or your fingertip for precise application. Blend the edges softly so it looks natural. Avoid applying too much product to prevent cakey skin. Concealing creates a smooth base for your makeup. It helps the camera capture a flawless finish.
Brighten Key Areas
Highlight areas where light naturally hits your face. Focus on the tops of cheekbones, bridge of the nose, and brow bones. Apply a creamy or liquid highlighter for a fresh glow. Blend well to avoid harsh lines. A subtle shine makes your face look more awake and lively. Brightening these spots adds dimension and depth in photos. It brings a radiant, healthy look to your skin.

Credit: www.youtube.com
Set With Powder
Setting your makeup with powder helps keep your look fresh and long-lasting in photos. It controls oil and reduces shine, preventing the makeup from sliding off. A good powder finish ensures your skin looks smooth and even under bright lights or flash photography.
Avoid Shine
Use a translucent powder to absorb excess oil on your face. Focus on the T-zone—forehead, nose, and chin—where shine appears first. Lightly press the powder with a fluffy brush or makeup sponge. Avoid applying too much powder; it can create a cakey look in pictures.
Keep It Natural
Choose a powder that matches your skin tone or is translucent. A natural finish prevents your skin from looking dry or overly matte. Blend the powder well into your skin for a seamless appearance. This keeps your makeup soft and photo-ready without harsh lines.
Enhance Your Eyes
Enhancing your eyes in photos makes a big difference. Eyes draw attention and express emotions. Simple makeup tricks can make your eyes look brighter and more defined. Focus on shaping brows, choosing the right eyeshadow, and using mascara that lasts. These steps create a natural yet striking look that stands out in pictures.
Define Brows
Well-defined brows frame your eyes perfectly. Use a brow pencil or powder that matches your hair color. Fill in sparse areas with light, short strokes. Keep the shape natural, avoiding overly sharp lines. Brush through your brows with a spoolie to blend the product evenly. Defined brows add structure and highlight your eyes in photos.
Use Neutral Shadows
Neutral eyeshadows suit all skin tones and photo lighting. Choose shades like soft browns, taupes, or warm beiges. Apply a light color on the eyelid as a base. Use a slightly darker shade in the crease to add depth. Blend well to avoid harsh lines. Neutral shadows enhance your eyes without overpowering your natural beauty.
Apply Waterproof Mascara
Waterproof mascara keeps lashes curled and smudge-free. It resists sweat, tears, and humidity during photo sessions. Start at the base of your lashes and wiggle the wand upward. Apply two coats for fuller lashes but avoid clumps. Waterproof mascara opens your eyes and makes them look larger in pictures.
Credit: www.youtube.com
Add Dimension With Contour
Adding dimension with contour can transform your photos from flat to fabulous. Contouring helps enhance your natural bone structure and adds depth to your face, making your features pop on camera. It’s all about knowing where to place the shadows and highlights for a sculpted, balanced look.
Sculpt Cheeks
Focus on the hollows of your cheeks to create a slimmer, lifted appearance. Use a contour shade two shades darker than your skin tone and apply it right below your cheekbones.
Smile gently to find the perfect spot—this little trick helps you avoid contouring too low or too close to your mouth. Blend well to avoid harsh lines, which can look unflattering in pictures.
Have you noticed how sculpted cheeks make your smile look more defined? It’s a subtle change that changes the entire vibe of your photo.
Define Jawline
A defined jawline anchors your face and adds structure. Apply contour along the edge of your jawbone, starting from your ears down to your chin.
Use short, downward strokes to mimic natural shadows. This technique helps in slimming the face and preventing a heavy or round appearance on camera.
Try tilting your head slightly forward in photos after contouring your jawline. It enhances the effect and gives your face a sharper silhouette that stands out.
Choose The Perfect Blush
Choosing the perfect blush can brighten your face and enhance your photos. The right shade adds a natural glow and makes your skin look healthy. Applying blush carefully helps define your cheekbones and balances your features.
Pick Flattering Shades
Choose blush colors that match your skin tone for a natural look. Light skin tones suit soft pinks and peaches. Medium skin tones look great with warm apricot or coral shades. Dark skin tones glow with deep berries or brick reds.
Consider the lighting of your photos. Bright lights wash out pale colors. Pick shades that stand out but stay natural under camera flashes.
Apply Strategically
Smile gently to find the apples of your cheeks. Apply blush there for a fresh, youthful look. Blend the color upwards toward your temples to lift your face.
- Use a fluffy brush for a soft finish.
- Start with little product; build up if needed.
- Blend well to avoid harsh lines.
For round faces, focus blush on the cheekbones to add definition. For longer faces, apply blush slightly below the cheekbones to create width.
Pick Lip Colors That Pop
Choosing the right lip color can make all the difference in how your photos turn out. A lip shade that truly pops grabs attention and adds an extra dimension to your overall look. It’s not just about brightness; it’s about picking a color that enhances your features and lasts through the shoot.
Long-lasting Formulas
You don’t want to worry about touch-ups every few minutes while posing. Opt for lip products labeled as long-lasting or matte to keep your color intact. These formulas resist smudging and fading, so your lips stay vibrant from the first click to the last.
Try layering a lip liner with your lipstick to extend wear time even more. A good trick is to blot with tissue after the first layer, then add a second coat. This creates a base that holds color better and prevents feathering around the edges.
Complement Your Skin Tone
Not every bold color suits everyone equally. Finding a shade that complements your skin tone helps your lips stand out naturally and makes your photos look balanced. If you have warm undertones, shades like coral, orange-red, or brick red usually work beautifully.
Cool undertones pair well with berry, plum, and blue-based reds. If you’re unsure, test a few colors in natural light before your shoot to see which ones make your face glow. What’s your go-to lip color that always makes you feel confident in photos?
Use Setting Spray
Setting spray is a simple product that helps keep makeup perfect for photos. It creates a light, invisible layer over your face. This layer holds every makeup detail in place. It stops smudging, fading, and melting under lights or heat. Using setting spray makes your pictures look sharp and clean.
Lock Makeup In Place
Setting spray locks your makeup firmly on the skin. It stops powders from settling into fine lines. Creams and liquids stay where you put them. This helps your foundation, blush, and eyeshadow last longer. Your makeup looks fresh, even after hours of wear. Perfect for long photo sessions or events.
Ensure Fresh Look
Setting spray gives a natural, dewy finish to your skin. It reduces shine without making the skin dry. Your face looks hydrated and smooth in pictures. The spray refreshes your makeup throughout the day. No need for heavy touch-ups or extra powder. Your photos capture a lively, fresh appearance every time.
Tips For Different Lighting
Lighting changes the way makeup appears in photos. Different lights highlight or hide features differently. Adjusting makeup for lighting helps you look your best in pictures. Small tweaks can make a big difference in photos.
Natural Light Adjustments
Natural light is soft and shows true colors. Use minimal foundation for a fresh look. Choose a foundation close to your skin tone to avoid a mask effect. Apply blush to add a healthy glow. Use a bit of highlighter on cheekbones for subtle shine. Avoid heavy eye makeup; instead, use mascara to define lashes. Natural light shows every detail, so blend well. Matte finishes reduce shine and keep skin looking smooth.
Studio And Flash Considerations
Studio lights and flash can wash out colors. Use a slightly heavier foundation to avoid looking pale. Add contouring to create depth on the face. Highlight the high points like nose, forehead, and chin but avoid too much shine. Choose matte eyeshadows to prevent glare. Use waterproof mascara to avoid smudging under strong lights. Set makeup with translucent powder to control shine. Bright lights reveal texture, so keep skin smooth with primer.

Credit: www.shefinds.com
Frequently Asked Questions
How To Make Makeup Look Good In Pictures?
Use a matte foundation to avoid shine. Highlight key areas like cheekbones. Apply setting powder and avoid heavy shimmer. Good lighting enhances makeup appearance in photos.
What Makeup Suits Natural Photos Best?
Opt for light coverage foundation and neutral tones. Use soft blush and subtle lip colors. Keep eye makeup minimal with mascara and light eyeshadow.
How To Prevent Makeup From Melting In Photos?
Use a primer before foundation. Set makeup with translucent powder. Use setting spray to lock makeup in place. Avoid touching your face frequently.
Which Makeup Products Photograph Well?
Matte foundations and powders work best. Cream blushes add natural flush. Waterproof mascara prevents smudging. Choose lipsticks with satin or matte finishes.
Conclusion
Capturing the perfect photo can be easy with the right makeup tips. Focus on enhancing your natural features. Use light foundation for a flawless look. Highlight your cheekbones for a radiant glow. Choose eye shadows that complement your skin tone.
Don’t forget to define your eyebrows. They frame your face beautifully. Lip color adds the final touch. Smile confidently in front of the camera. With these simple tips, your photos will shine. Remember, practice makes perfect. Experiment with different looks.
Find what suits you best. Enjoy creating picture-perfect memories!
