
Have you ever found yourself mesmerized by those vibrant, aesthetic skincare illustrations flooding your social media feed? The good news is, you don’t have to be a professional artist to create your own preppy skincare drawings.
Imagine impressing your friends or even yourself with stunning sketches that capture the essence of your favorite skincare products. In this guide, you’ll discover simple yet effective techniques to draw skincare preppy style, even if you’re a beginner. Keep reading to unlock the secrets that will transform your doodles into eye-catching art, making you the envy of your Instagram followers.
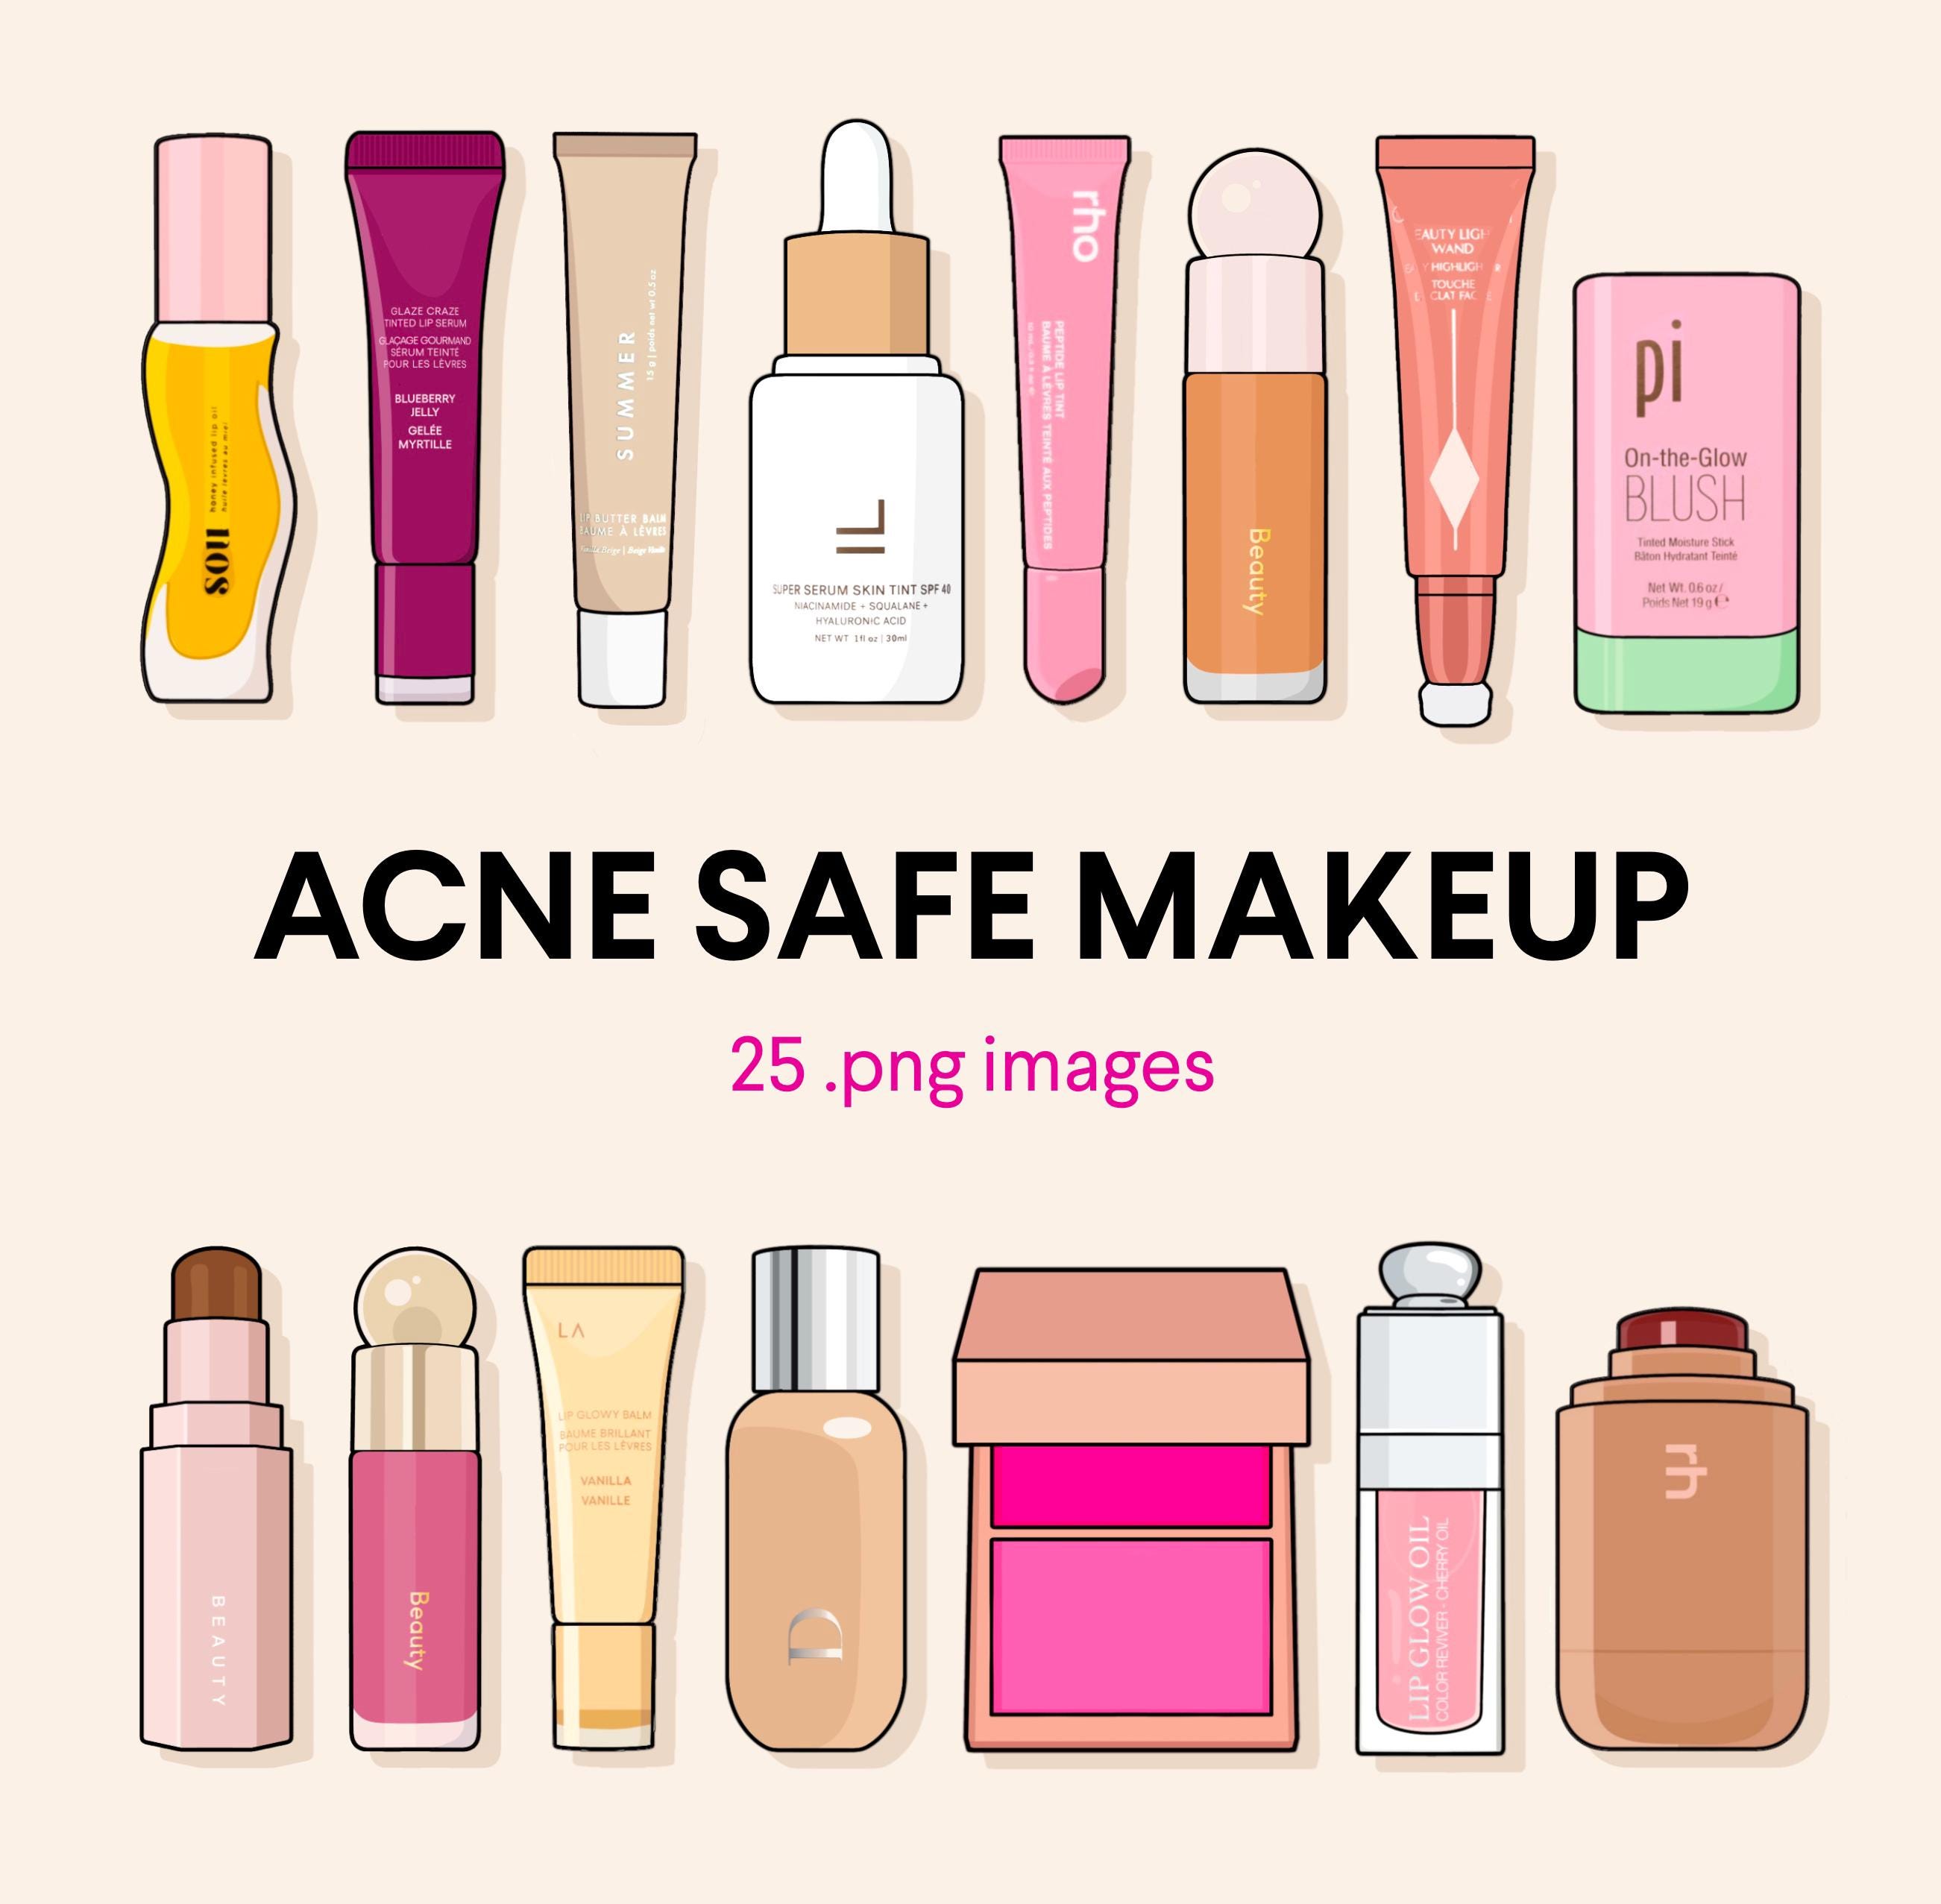
Credit: www.etsy.com
Materials Needed
Drawing skincare preppy style needs the right materials. These items help you create clean and detailed sketches. Having the right tools makes drawing easier and more fun.
Gathering your materials first saves time and keeps you organized. Each tool has a specific role in your drawing process. Below are essential and optional items to prepare.
Basic Drawing Tools
- Pencils (HB, 2B, 4B) for sketching and shading
- Eraser for corrections and highlights
- Sharpener to keep pencil tips fine
- Drawing paper or sketchbook with smooth texture
- Ruler for straight lines and structure
Recommended Skincare References
- Photos of skincare products for shape and details
- Images of faces with natural skin glow
- Skincare ingredient labels for text and design ideas
- Videos showing skincare routines for dynamic poses
Optional Coloring Supplies
- Colored pencils for soft, blendable colors
- Markers for bold and vibrant effects
- Watercolors to add light washes and texture
- Blending tools like tortillons or cotton swabs
Sketching The Basic Shape
Starting your drawing with a solid foundation is key to capturing the essence of a skincare preppy look. Sketching the basic shape sets the tone for your entire artwork and helps you control proportions and details later on. It’s about seeing the face as a simple structure before adding those refined, glowing skin touches.
Outline The Face Structure
Begin by drawing a soft oval to represent the face. Keep your lines light so you can adjust easily. Think about the overall shape—does it lean more towards round, oval, or heart-shaped? This decision influences the personality of your drawing.
Try to visualize the jawline and cheekbones with gentle curves rather than sharp angles. This creates a youthful, smooth look typical of preppy skincare styles. Avoid making the outline too rigid; natural softness is your goal here.
Positioning Facial Features
Next, lightly draw horizontal and vertical guidelines to help place the eyes, nose, and mouth accurately. The eyes usually sit halfway down the face, and the space between them should be about one eye’s width.
Place the nose just below the eye line, and the mouth slightly above the bottom of the chin. These simple markers keep your features balanced and aligned, preventing a distorted or awkward appearance.
Ask yourself: Does each feature feel naturally spaced? Adjusting these early saves frustration later.
Creating Smooth Skin Contours
Use gentle, flowing lines to connect the facial features and outline the skin’s surface. Avoid harsh edges; instead, focus on smooth transitions that mimic real skin.
Notice how light falls on the face—this helps you decide where to soften or sharpen your contours. Smooth contours emphasize the healthy, radiant skin look that defines skincare preppy style.
At this stage, you’re building a canvas that invites delicate shading and highlights. How can you use your pencil pressure to keep these contours soft yet defined?
Adding Skincare Elements
Adding skincare elements to your drawing brings life and realism to the character. It helps viewers connect with the image on a personal level, making your art more relatable. These small details can transform a simple sketch into a story about self-care and beauty.
Drawing Moisturizer And Cream Details
Start by sketching small tubes or jars with clear labels like “moisturizer” or “cream.” Use smooth, rounded shapes to suggest softness and hydration. Adding tiny highlights on the container can create a glossy effect, making the product appear fresh and appealing.
To show the cream itself, draw gentle swirls or dabs on the skin. Light shading and soft edges make the cream look like it’s melting into the skin. Have you noticed how a little cream detail can instantly suggest comfort and nourishment?
Incorporating Facial Masks
Facial masks add a fun and dynamic layer to your drawing. Use bold, even patches over the face or neck, varying the shapes to mimic popular mask styles like sheet masks or clay masks. Contrast the mask’s texture with the skin to emphasize its presence.
Try adding subtle bubbles or wrinkles on the mask’s surface to show how it reacts to the skin underneath. This detail can make your drawing feel more interactive and alive. What kind of mask would your character use for a quick skin pick-me-up?
Highlighting Healthy Skin Texture
Healthy skin has a natural glow and slight texture that you can capture with soft shading and tiny dots or lines. Avoid making the skin look too smooth or flat; texture adds realism and vitality. Focus on areas like the cheeks, forehead, and around the eyes for the best effect.
Use light reflections to mimic natural oils and hydration on the skin. These highlights can be small spots or streaks where light would naturally hit. Have you ever noticed how a subtle shine can make skin look alive and well cared for?
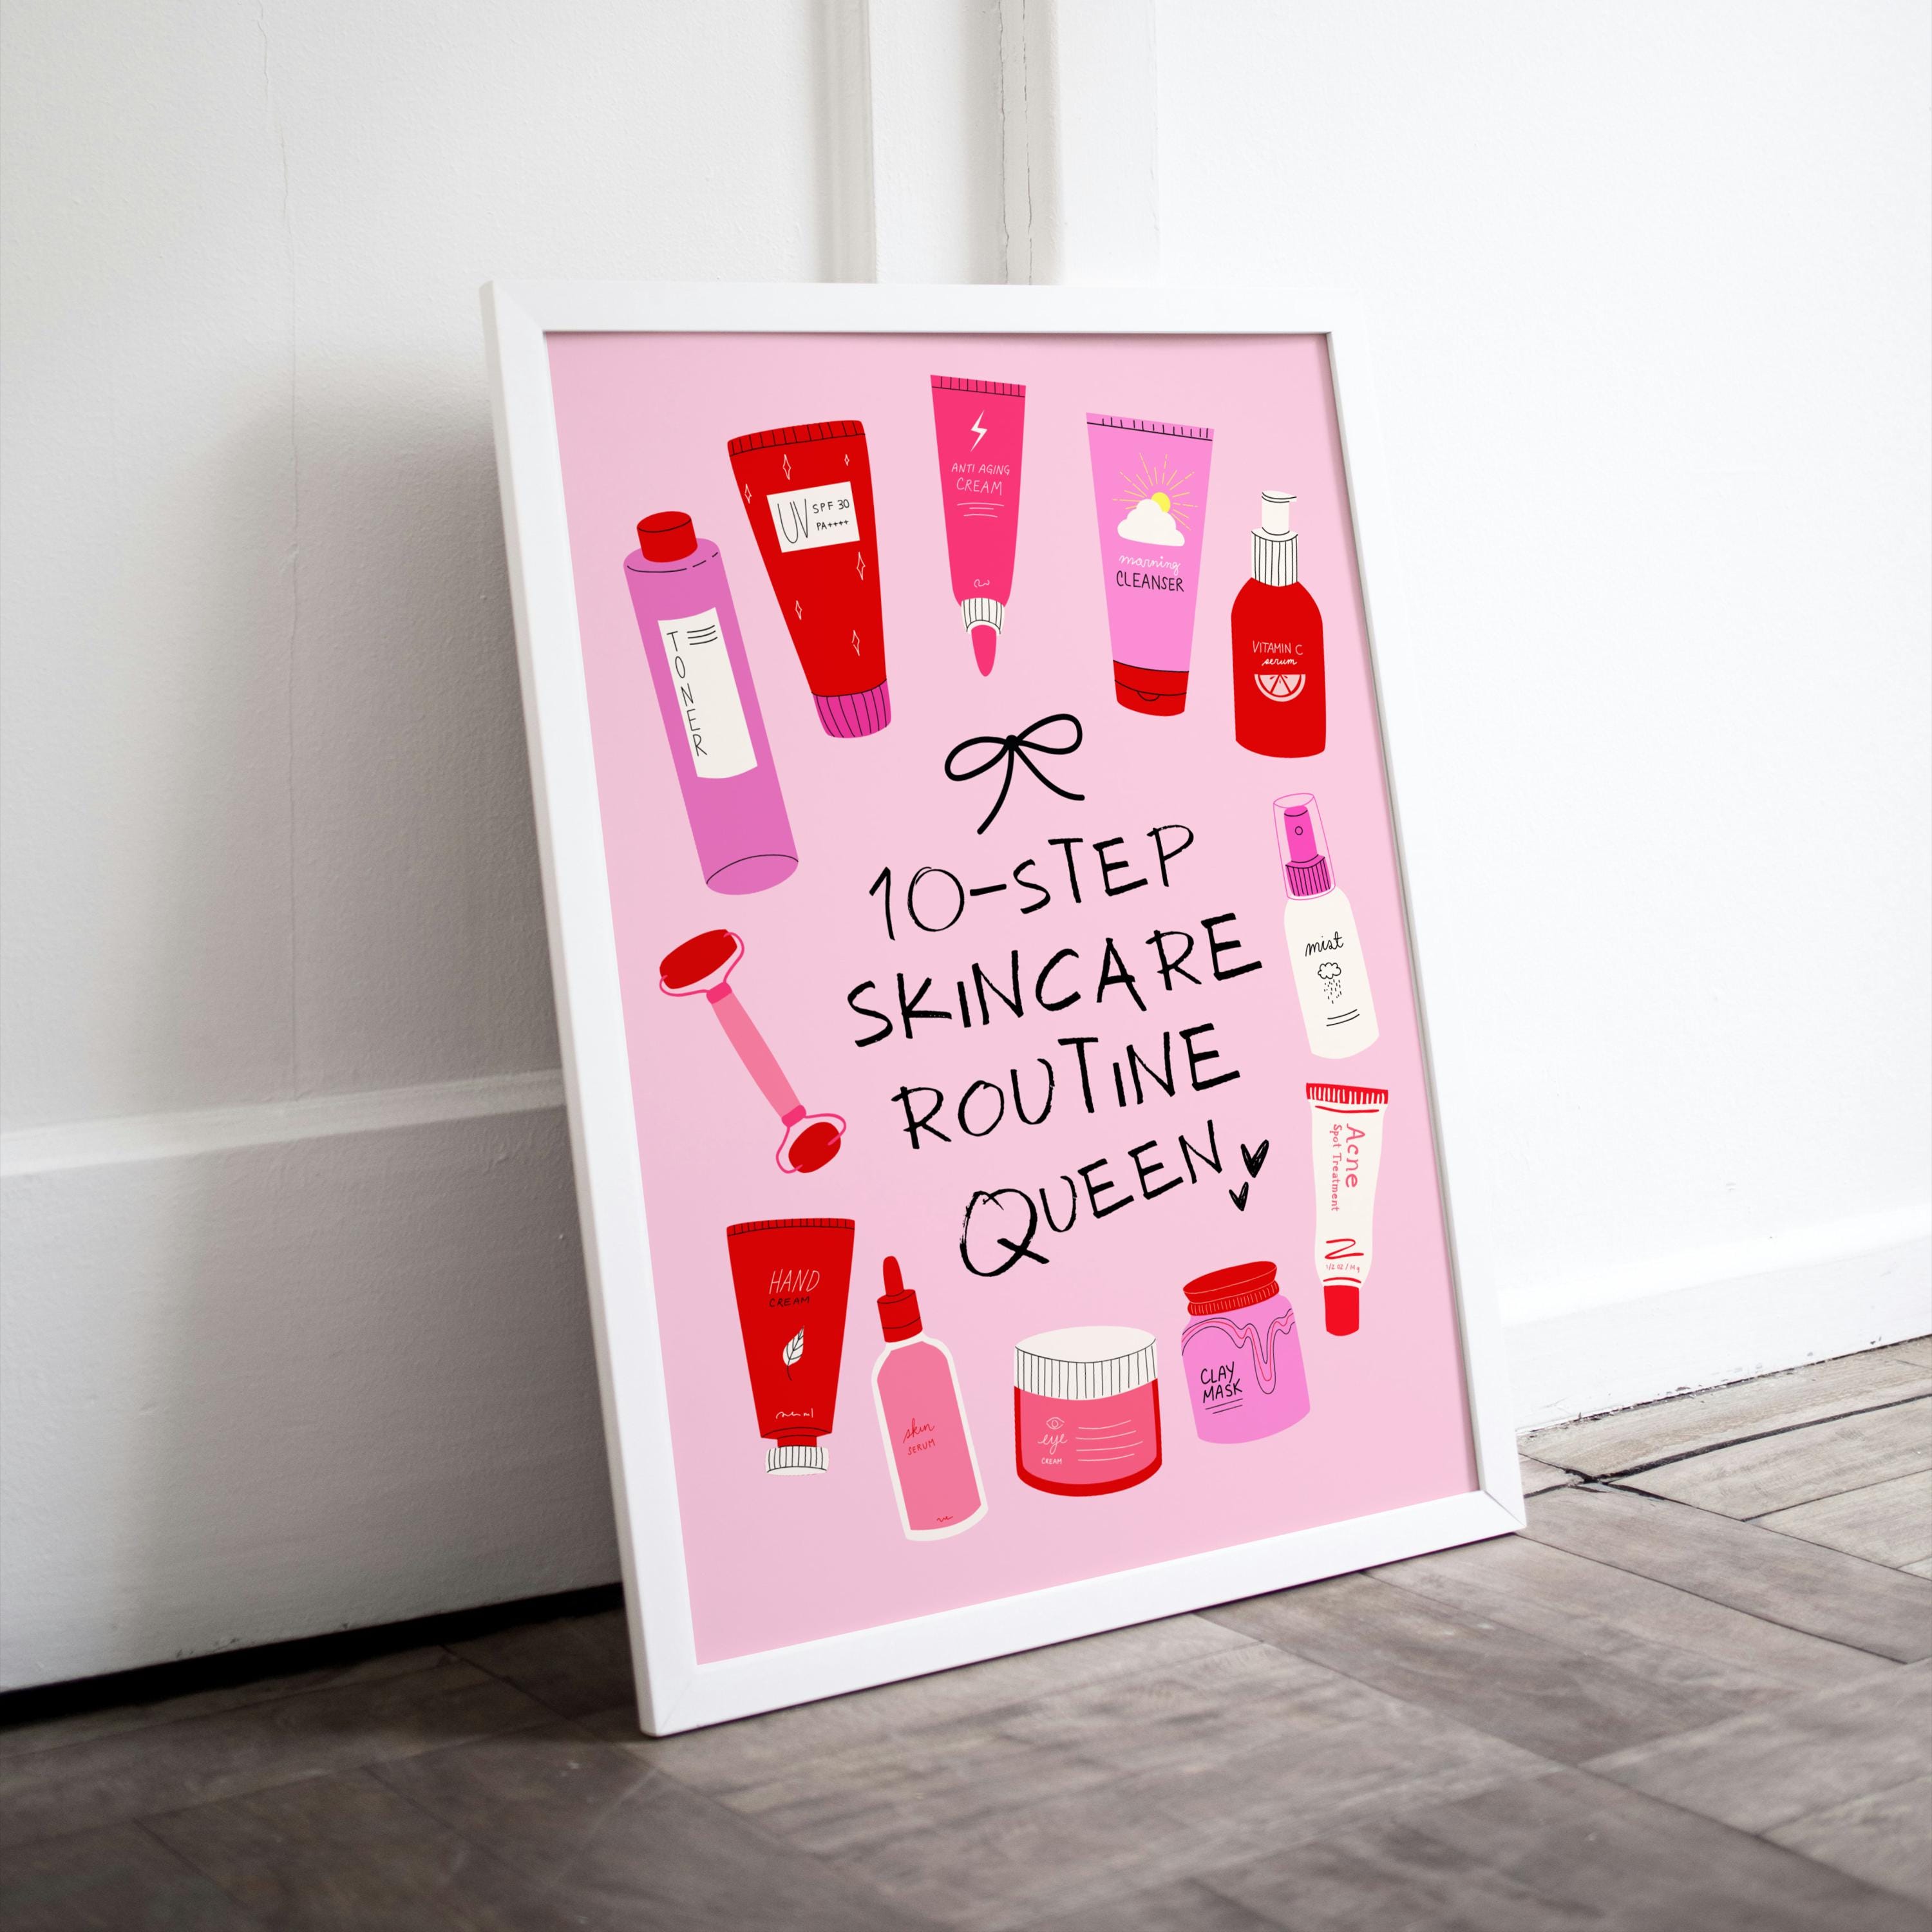
Credit: www.etsy.com
Refining Facial Features
Refining facial features is essential to capture the true essence of a skincare preppy style. These details bring life and character to your drawing. Focus on small adjustments that create balance and harmony. Each facial feature plays a key role in expressing personality and mood.
Emphasizing Eyes And Eyebrows
The eyes reflect the skin’s freshness and glow. Draw them with gentle curves and clear lines. Avoid harsh angles to keep a soft, natural look. Eyebrows frame the eyes, so shape them neatly. Use light strokes to show fine hairs and a clean arch. This adds a polished, tidy appearance.
Shaping Nose And Lips
Keep the nose simple with smooth shading. Use subtle shadows to show its shape without heavy lines. Lips should look soft and hydrated. Draw a slight curve for the upper lip and a fuller lower lip. Avoid deep creases; a smooth outline works best. Highlight the lips lightly to suggest moisture and care.
Adding Subtle Expressions
Expressions add life without exaggeration. Use small changes around the eyes and mouth. A slight lift at the corners of the mouth creates a gentle smile. Softening the lines near the eyes suggests calm and freshness. These subtle touches make the face inviting and relaxed.
Coloring Techniques
Coloring techniques bring your skincare preppy drawing to life. The right colors add depth and realism. Careful color choices create a fresh, glowing look. Smooth blending avoids harsh lines and uneven skin. Highlights and shadows give your drawing a three-dimensional feel. Follow these tips to enhance your art with color.
Choosing Skin Tones
Select skin tones that match your character’s style. Use a base color close to natural skin. Add subtle variations for realism. Consider warm tones like peach or beige for a healthy glow. Cool tones, such as light pink or olive, fit different skin types. Use a limited palette to keep colors consistent.
Blending Colors For Smoothness
Blending colors softens transitions on the skin. Use gentle strokes with colored pencils or digital brushes. Blend from light to dark areas gradually. Apply light pressure for smooth gradients. Use tools like blending stumps or soft brushes. This technique creates a natural skin texture without harsh edges.
Adding Highlights And Shadows
Highlights mimic light hitting the skin. Place them on the forehead, nose, and cheekbones. Use lighter colors or white for highlights. Shadows add depth and shape. Apply darker tones near the jawline, under the nose, and around the eyes. Balance highlights and shadows to keep the face lively and realistic.
Final Touches
Final touches bring your Skincare Preppy drawing to life. They add depth, clarity, and polish that separate a good sketch from a great one. These last adjustments focus on refining details, balancing light, and cleaning up any distractions to showcase your work at its best.
Enhancing Details With Fine Lines
Use fine lines to sharpen key features like eyelashes, lip contours, and hair strands. This creates texture and draws attention to focal points. Don’t overdo it—too many lines can clutter your drawing and reduce its clean, fresh look.
Try varying the line thickness slightly for a natural effect. Thin lines can highlight delicate textures, while slightly thicker ones emphasize important edges. Have you noticed how subtle line work can make skin appear softer and more realistic?
Adjusting Contrast And Brightness
Adjusting contrast helps your drawing pop by making shadows deeper and highlights brighter. Brightness tweaks can brighten dull areas and add vibrancy to the overall image. Use these adjustments sparingly to keep the natural, glowing feel of skincare.
Check your drawing on different screens if possible—what looks balanced on one might appear washed out or too harsh on another. How does changing contrast affect the mood of your portrait? Play around until you find a balance that enhances without overpowering.
Cleaning Up The Sketch
Remove unnecessary lines and smudges to keep your drawing crisp. Use an eraser carefully to lift stray marks without damaging the paper or digital layer. This step can be surprisingly satisfying and instantly improves professionalism.
Zoom in to catch tiny imperfections you might miss at first glance. Clean edges let the viewer focus on your intended details without distraction. Have you ever seen how a clean sketch can make your drawing feel more finished and inviting?
Credit: www.etsy.com
Frequently Asked Questions
What Materials Do I Need To Draw Skincare Preppy?
You need pencils, erasers, colored markers, and sketch paper. Optional: digital drawing tools for a polished look. These help create detailed and vibrant skincare-themed drawings effectively.
How To Start Sketching Skincare Preppy Characters?
Begin with basic shapes to outline the character’s posture. Focus on facial expressions and skincare product details for authenticity. Light sketching helps adjust proportions easily.
Which Colors Suit Skincare Preppy Drawings Best?
Use pastel colors like light pink, mint green, and soft blues. These colors reflect freshness and softness associated with skincare themes. They enhance the gentle and clean aesthetic.
How To Add Skincare Product Details Effectively?
Draw recognizable product shapes like bottles and jars with clear labels. Highlight textures like cream or gel using shading techniques. This adds realism and relevance to your drawing.
Conclusion
Drawing skincare preppy looks fun and simple with practice. Start with basic shapes and add details step by step. Use soft colors to keep the style fresh and clean. Keep your lines smooth and neat for a polished look. Remember, patience helps improve your drawing skills over time.
Try different poses and expressions to make your art unique. Enjoy the process and share your creations with friends. Drawing this style can be relaxing and rewarding. Keep practicing, and soon you will create beautiful skincare preppy art easily.
