
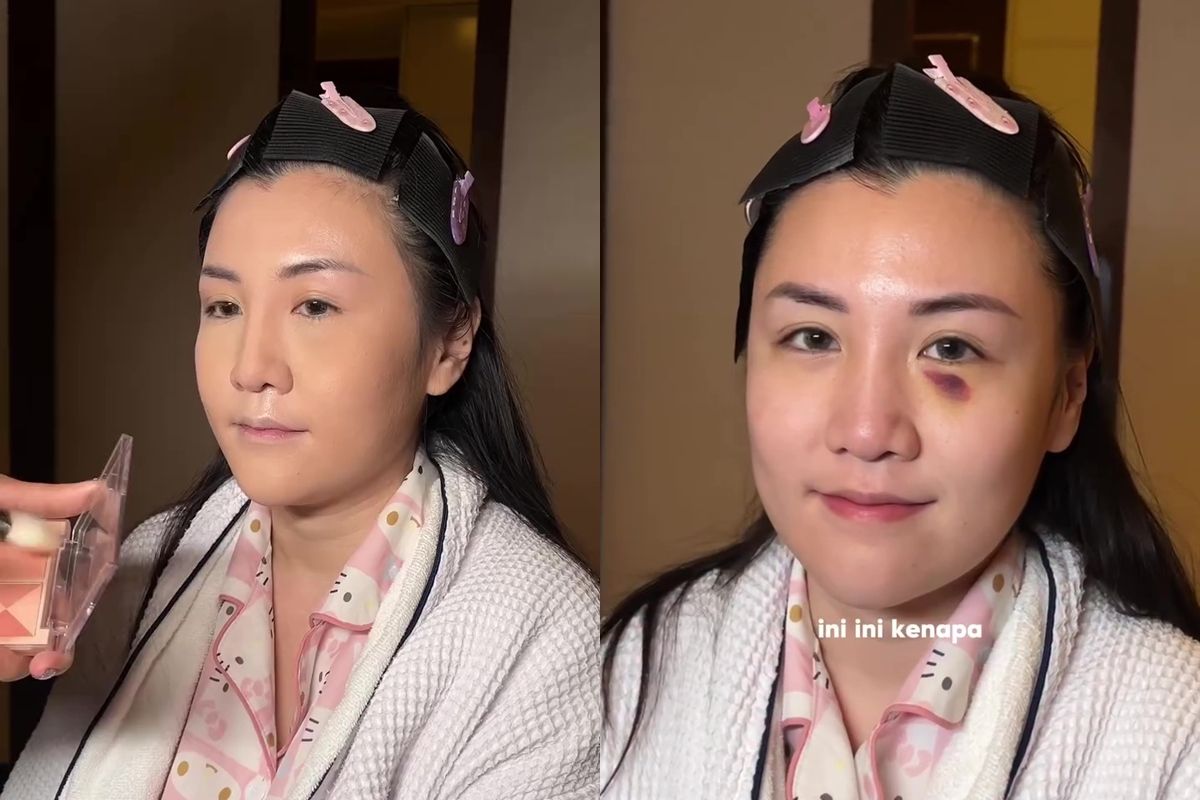
Have you ever wished you could instantly hide a bruise before heading out? Whether it’s from an accidental bump or a rough day, a visible bruise can make you feel self-conscious.
But here’s the good news: with the right makeup tricks, you can cover that bruise quickly and confidently. In this guide, you’ll learn simple, effective steps to camouflage your bruise so your skin looks flawless. Ready to regain your confidence and face the day without worry?
Keep reading to discover how to master bruise coverage like a pro.

Credit: www.youtube.com
Choose The Right Products
Choosing the right products is key to effectively covering a bruise with makeup. The right tools can make your coverage look natural and last longer. Without proper products, even the best application techniques might not give you the results you want.
Color Correctors For Bruises
Color correctors are your first step in neutralizing the different tones of a bruise. Bruises often have blue, purple, or green shades, so selecting the correct color helps balance these out.
Use a peach or orange corrector for blue and purple bruises. For greenish bruises, a pink or red corrector works better. Applying just a small amount on the bruise can drastically reduce discoloration before you add concealer.
Concealers That Work Best
After color correcting, the next product to pick is concealer. Choose a concealer with full coverage and a creamy texture that blends easily without caking.
Stick to shades that match your skin tone perfectly. If you’re unsure, test concealers on your jawline to find the best match. Using a small, dense brush for application helps you place the product precisely and build up coverage in thin layers.
Setting Powders And Sprays
Once you’ve covered the bruise, setting products lock everything in place. A translucent setting powder prevents your makeup from moving or creasing throughout the day.
Apply the powder lightly with a fluffy brush to avoid disturbing your coverage. Finish with a setting spray to add extra hold and a more natural finish, so your makeup stays fresh longer.
Prepare Your Skin
Preparing your skin before covering a bruise with makeup is crucial. It sets the stage for a flawless, long-lasting finish. Without proper skin prep, makeup can look patchy or settle into the bruise’s texture, making it more noticeable.
Cleanse And Moisturize
Start by gently cleansing the area around the bruise. Use a mild, hydrating cleanser to remove dirt and oils without irritating the skin. This step helps makeup adhere better and prevents it from sliding off during the day.
After cleansing, apply a lightweight moisturizer suited to your skin type. Moisturizing softens the skin and creates a smooth surface for makeup application. If your skin feels dry, makeup can look cakey or uneven, so don’t skip this step.
Prime For Smooth Application
Applying a primer can make a big difference in how your makeup covers the bruise. Choose a primer that matches your skin needs—mattifying if you have oily skin or hydrating if your skin is dry.
Gently dab the primer onto the bruised area and the surrounding skin. This helps fill in any uneven texture and creates a barrier that keeps makeup from settling into fine lines or pores. Have you noticed how some foundations look patchy? Primer is often the missing piece.
Apply Color Corrector
Applying a color corrector is a key step to cover a bruise with makeup. It helps balance out the discoloration before using foundation or concealer. Choosing the right shade and applying it properly can make your bruise less visible and your skin tone look even.
Neutralize Purple And Blue Tones
Purple and blue bruises need warm colors to cancel them out. Use a color corrector in shades like peach, orange, or salmon. These tones counteract dark hues and brighten the skin.
- For light skin, choose a soft peach corrector.
- For medium skin, try a deeper orange shade.
- For dark skin, use a rich, burnt orange corrector.
Apply a small amount directly on the bruise. Dab gently instead of rubbing. This avoids removing the product and keeps the area covered.
Blend With Care
Blending is crucial for a natural look. Use a clean fingertip or a makeup sponge. Tap lightly around the edges of the corrector to soften the lines.
Do not spread the product too far beyond the bruise. Keep it concentrated on the area. Blending too much can reduce coverage and look patchy.
Wait a few seconds for the corrector to set. Then, apply foundation or concealer over it. This creates an even finish that hides the bruise well.

Credit: www.ulike.com
Layer Concealer
Layering concealer is key to hiding bruises effectively. It helps create a smooth, natural finish that blends well with your skin. Applying concealer in thin layers avoids a cakey look and provides better coverage.
Start with a small amount and add more only where needed. This technique allows the product to sit properly on your skin. It also prevents the makeup from creasing or looking heavy.
Choose The Right Shade
Select a concealer shade that matches your skin tone closely. For purple or blue bruises, use a peach or orange color corrector underneath. This neutralizes the discoloration before applying your regular concealer. Test the shades on your jawline to find the best match.
Build Coverage Gradually
Apply a thin layer of concealer on the bruise using a clean brush or fingertip. Pat gently to blend the edges into your skin. Let this layer dry for a few seconds before adding more.
Repeat this process until the bruise looks covered. Avoid rubbing or dragging the product across your skin. Finish with a light dusting of translucent powder to set the makeup and increase its wear time.
Set And Finish
Setting and finishing your makeup is essential to keep the bruise well concealed all day. Without proper setting, makeup can smudge or fade, revealing the discoloration underneath. The right products help lock everything in place, making your skin look smooth and natural.
Focus on sealing your makeup with light, gentle layers. This avoids cakiness and keeps the coverage even. Patience is key to a flawless finish.
Use Translucent Powder
Choose a translucent powder that matches your skin tone. Use a small, fluffy brush to apply it softly over the covered bruise. Press the powder gently instead of rubbing.
- This step sets the concealer and foundation.
- It absorbs extra oils that cause makeup to slide off.
- Prevents creasing and extends wear time.
Apply powder in thin layers. Too much can make the skin look dry or cakey. Focus on the bruised area and blend outward for a seamless look.
Seal With Setting Spray
After powder, use a setting spray to lock makeup in place. Hold the spray about 8-10 inches from your face. Close your eyes and mist evenly.
- Setting spray helps makeup resist sweat and moisture.
- It softens the powder finish for a natural glow.
- Improves makeup longevity throughout the day.
Let the spray dry naturally. Avoid touching your face after this step to keep coverage intact. The combination of powder and spray ensures your bruise stays hidden longer.
Additional Tips
Covering a bruise with makeup takes more than just applying concealer. There are subtle tricks that can make your effort look natural and last longer. These additional tips help you avoid common mistakes and keep your makeup fresh throughout the day.
Avoid Heavy Makeup
It’s tempting to pile on makeup to hide a bruise, but heavy layers can make it more noticeable. Thick makeup tends to cake and draw attention to the uneven texture of the skin.
Instead, use thin layers and build coverage gradually. Lightly dab the product with a sponge or your fingers to blend it seamlessly. This approach keeps your skin looking smooth and natural.
Touch-up Techniques
Bruises can fade or shift color, so your makeup might need refreshing during the day. Carry a small concealer and a compact powder for quick touch-ups.
When you spot shine or fading coverage, gently pat concealer on the area, then set it with powder. Avoid rubbing, which can remove your makeup and irritate the bruise.
When To Seek Professional Help
If your bruise is large, painful, or doesn’t improve, makeup might not be the best solution. Sometimes, a dermatologist or makeup artist can offer treatments or tips tailored to your skin’s needs.
Have you ever struggled to cover a stubborn bruise? Professionals can recommend medical options or advanced makeup products that work better than drugstore brands. Don’t hesitate to get advice if your bruise affects your confidence or comfort.
Credit: en.brilio.net
Frequently Asked Questions
How Do I Prepare Skin Before Covering A Bruise?
Cleanse and moisturize your skin gently before makeup. Use a primer to create a smooth base. This helps makeup adhere better and last longer while protecting sensitive skin around the bruise.
What Type Of Concealer Works Best For Bruises?
Use a high-coverage, creamy concealer with color-correcting tones. Yellow or peach shades neutralize purple or blue bruises. Choose a concealer that matches your skin tone for a natural finish.
How To Apply Makeup Without Irritating The Bruise?
Apply makeup with a light touch using a sponge or brush. Avoid rubbing or pressing hard on the bruise. Pat the product gently to blend and prevent irritation or further damage.
Can Setting Powder Improve Bruise Coverage?
Yes, setting powder locks concealer and foundation in place. It reduces shine and prevents smudging throughout the day. Use a translucent powder for a natural, long-lasting finish without caking.
Conclusion
Covering a bruise with makeup is simple and effective. Start with a clean face. Use a color corrector to neutralize the bruise. Green works well for red tones; yellow for purple. Apply concealer that matches your skin tone. Blend it well to avoid harsh lines.
Set everything with a translucent powder. It helps the makeup last longer. Practice makes perfect. Try different products to find what suits you best. Confidence shines through when you feel good. Remember, makeup is just a tool. You are beautiful with or without it.
