You use your makeup sponge every day to create a flawless look, but have you ever stopped to think about how clean it really is? Dirty sponges can harbor bacteria, cause breakouts, and even ruin your makeup application.
If you want your skin to stay healthy and your makeup to look its best, knowing how to clean your makeup sponges properly is a must. In this post, you’ll discover simple, effective ways to keep your sponges fresh and ready to use—no complicated steps, just easy tips you can start using right now.
Ready to give your beauty routine a clean boost? Let’s dive in!
Credit: www.lemon8-app.com
Why Clean Makeup Sponges
Cleaning makeup sponges is important for many reasons. These tools touch your skin directly and collect dirt, oil, and bacteria. Leaving them dirty can harm your skin and affect your makeup look. Regular cleaning keeps your sponges safe and effective.
Preventing Skin Breakouts
Dirty sponges carry bacteria that can cause pimples and irritation. Using a clean sponge reduces the risk of clogged pores and infections. This helps keep your skin clear and healthy.
Extending Sponge Lifespan
Makeup sponges last longer with regular cleaning. Removing makeup residue and oils stops the material from breaking down. Clean sponges stay soft and ready for daily use.
Improving Makeup Application
Clean sponges blend makeup smoothly without streaks or patches. They absorb the right amount of product for even coverage. This leads to a fresh and natural look every time.
Credit: www.walmart.ca
Tools You Need
Cleaning your makeup sponges properly starts with having the right tools on hand. Without the proper items, you might struggle to remove all the makeup residue, which can lead to bacteria buildup and skin issues. Let’s look at the essential tools that make the cleaning process effective and straightforward.
Gentle Cleanser Options
A harsh soap can damage your sponges, so choose gentle cleansers designed for delicate materials. Baby shampoo, mild liquid soap, or specially formulated makeup sponge cleansers work well. I once used a strong detergent and noticed my sponge started to break down quickly—stick with gentle options to keep your sponges lasting longer.
Warm Water
Warm water helps to break down makeup and oils trapped inside the sponge. Avoid hot water as it can weaken the sponge’s structure, but make sure the water is warm enough to loosen dirt effectively. Try rinsing your sponge under a steady, warm stream to see how much makeup washes away before applying cleanser.
Clean Towels
After rinsing your sponge, gently press it between clean towels to remove excess water. Avoid rubbing too hard to prevent tearing your sponge. Having a few soft, clean towels ready can speed up drying and keep your sponge fresh for the next use.
Step-by-step Cleaning Process
Cleaning your makeup sponges properly is key to keeping your skin healthy and your makeup flawless. The process is simple but requires attention to detail. Follow these clear steps to refresh your sponge and extend its life.
Soaking The Sponge
Start by soaking your sponge in warm water. This softens it and loosens the makeup stuck inside. I once skipped this step and struggled to clean the sponge thoroughly—don’t make the same mistake.
Add a gentle cleanser or a few drops of dish soap to the water for better results. Let the sponge soak for about 5 to 10 minutes.
Massaging Out Makeup
After soaking, gently massage the sponge with your fingers. Press and squeeze it carefully to work the cleanser into the sponge’s pores. This helps break down stubborn makeup and oils.
Try not to be too rough, or you might damage the sponge. Ask yourself: have you been gentle enough to clean without tearing?
Rinsing Thoroughly
Rinse the sponge under running water until the water runs clear. Make sure to squeeze it repeatedly to flush out all the soap and makeup residue. This step is crucial to avoid leftover buildup that can clog your pores.
If the water still looks dirty, repeat massaging and rinsing. Your skin will thank you for this extra effort.
Squeezing Excess Water
Finally, squeeze out as much water as you can without twisting or pulling the sponge. Gently pressing it between your palms works well. This speeds up drying and keeps the sponge in good shape.
Place the sponge in a well-ventilated area to air dry completely before its next use. Have you noticed how a clean, dry sponge applies makeup much smoother?

Credit: www.amazon.com
Deep Cleaning Techniques
Deep cleaning your makeup sponges is essential to keep them fresh, bacteria-free, and effective for flawless makeup application. Regular surface cleaning won’t remove all the buildup of oils, dead skin, and product residue. Using deeper cleaning methods can restore your sponges to near-new condition and extend their lifespan.
Using Baking Soda And Vinegar
Baking soda and vinegar can work wonders for your makeup sponges. Start by soaking the sponge in warm water mixed with a tablespoon of baking soda for about 10 minutes. Then, rinse it under running water and gently squeeze to remove dirt.
Next, soak the sponge in a mixture of equal parts white vinegar and water for another 10 minutes. Vinegar acts as a natural disinfectant that kills bacteria and breaks down stubborn makeup residue. Rinse thoroughly and let your sponge air dry.
Microwave Method
The microwave method is an easy way to deep clean your sponge using steam. Fill a microwave-safe bowl with water and add a little dish soap. Submerge your damp sponge in the bowl.
Microwave on high for about 1 minute, allowing the steam to loosen makeup and kill germs. Be careful when removing the bowl—it will be hot! Squeeze out excess water and let your sponge dry completely before use.
Dish Soap Treatment
Dish soap is excellent for cutting through oily makeup residue on sponges. Wet your sponge and apply a few drops of gentle dish soap directly onto it. Rub and squeeze the sponge repeatedly to create a lather.
Focus on areas with heavy makeup stains. Rinse under warm water while squeezing until the water runs clear. This simple treatment can refresh your sponge quickly without harsh chemicals.
Drying And Storing Tips
Proper drying and storing of makeup sponges keeps them clean and lasts longer. Wet sponges can trap dirt and germs. Drying and storing them right stops mold and bacteria growth. It also keeps the sponge soft and ready for use.
Air Drying Best Practices
After washing, squeeze out extra water gently. Avoid twisting or wringing, which can damage the sponge. Place the sponge in a clean, open area with good air flow. Let it dry naturally, not in direct sunlight. Avoid using a hairdryer or heater to speed up drying. These can break down the sponge material.
Avoiding Mold And Bacteria
Always dry your sponge fully before storing it. Damp sponges breed mold and bacteria fast. Clean your sponge regularly to prevent buildup. Use gentle soap or a special sponge cleanser. Replace your sponge every 1-3 months depending on use. Never share your sponge with others to avoid spreading germs.
Proper Storage Solutions
Store your dry sponge in a breathable container. Avoid airtight boxes that trap moisture inside. Use a mesh pouch or a container with ventilation holes. Keep the storage spot cool and dry. Avoid storing your sponge in the bathroom. Bathrooms are often humid and encourage mold growth.
How Often To Clean Makeup Sponges
Keeping your makeup sponges clean is essential for healthy skin and flawless makeup application. But how often should you clean them? The answer depends on your usage and skin type. Let’s break down the best cleaning routines and how to recognize when your sponge needs attention.
Daily Vs Weekly Cleaning
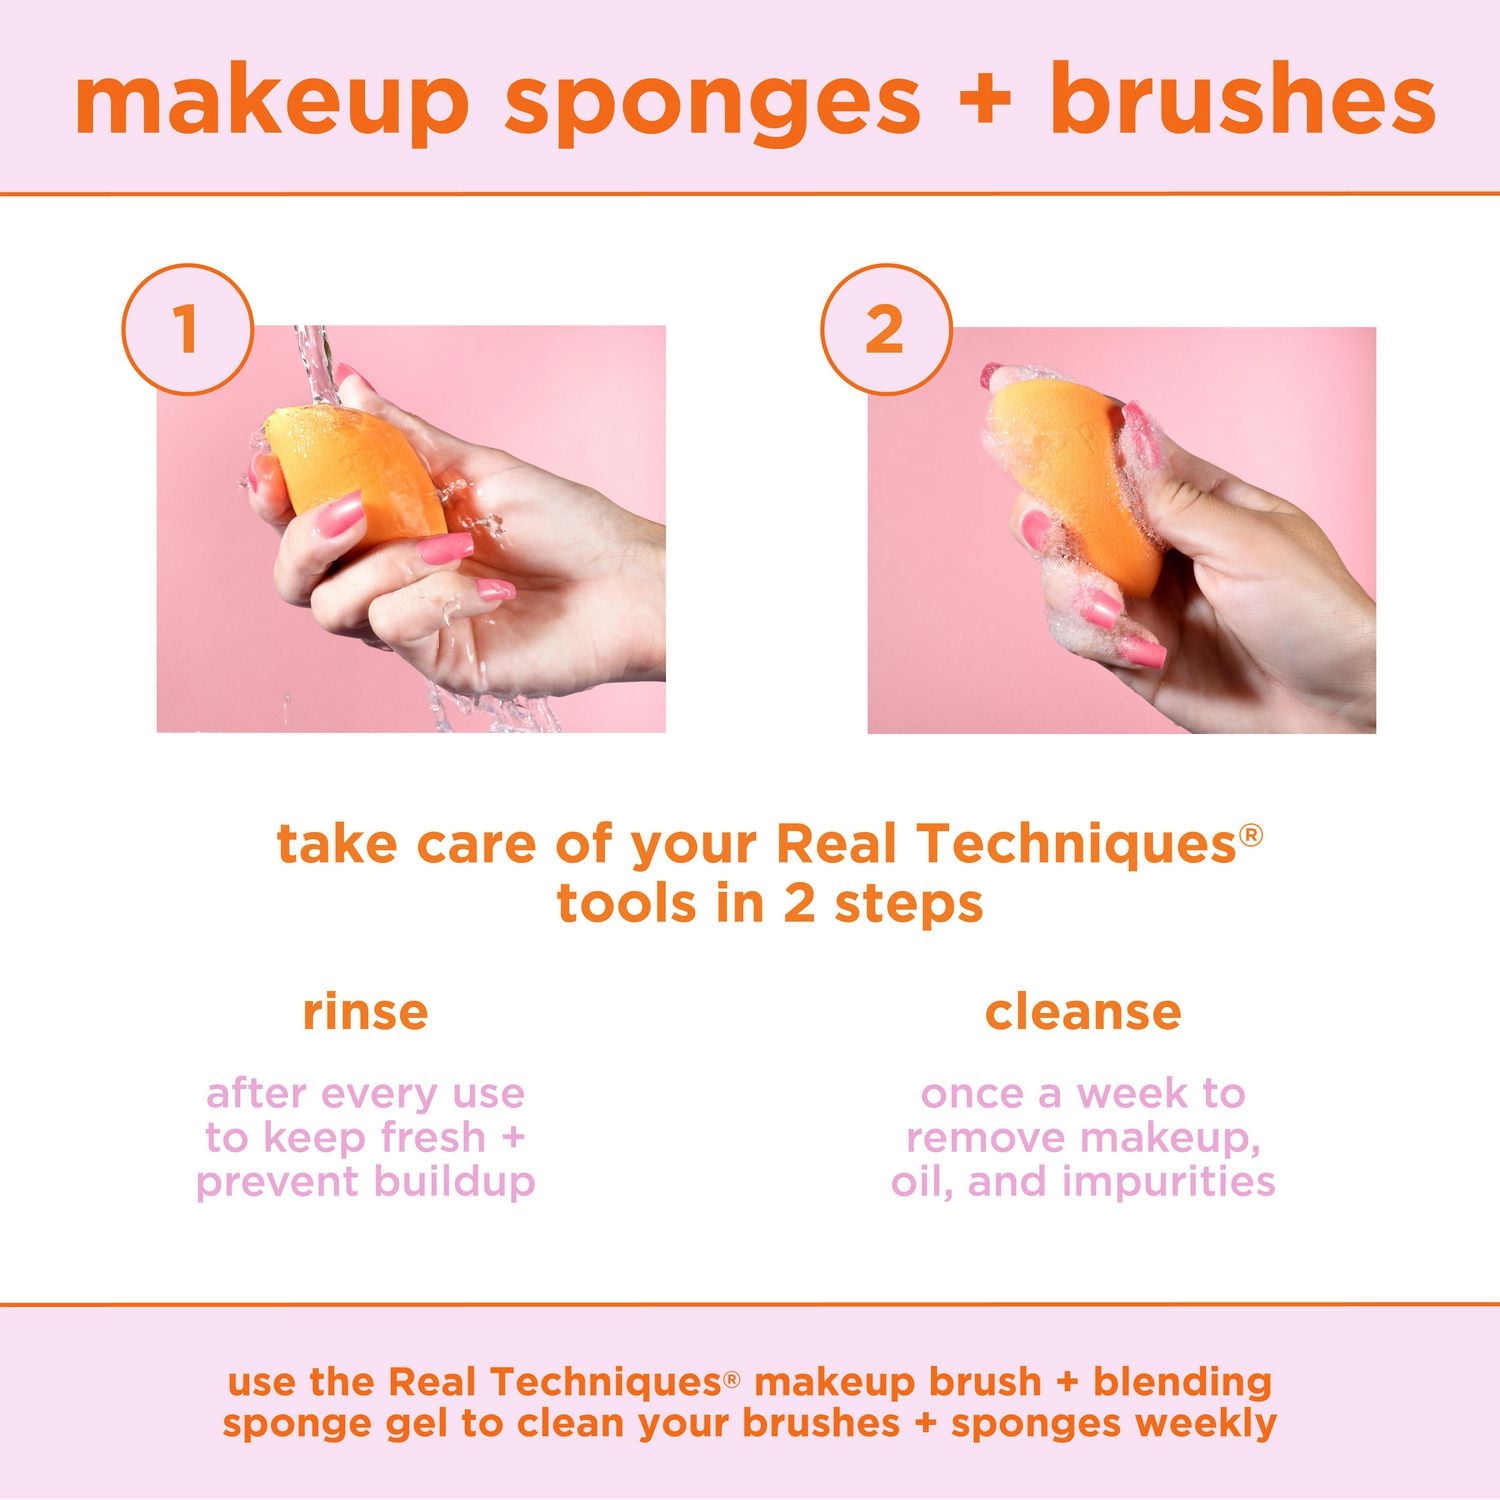
If you use your makeup sponge every day, a quick daily rinse is a smart move. This helps remove surface product buildup and prevents bacteria from growing. Just a rinse with warm water and a gentle cleanser can keep your sponge fresh enough for daily use.
However, a deep clean is necessary at least once a week. This involves soaking the sponge in a cleanser and squeezing it repeatedly to remove all makeup, oils, and dirt trapped inside. Weekly deep cleaning ensures your sponge stays hygienic and extends its lifespan.
Think about your routine: do you wear makeup daily or just on special occasions? Adjust your cleaning frequency accordingly to match your habits and skin needs.
Signs Your Sponge Needs Cleaning
Sometimes, your sponge will tell you when it’s time for a clean. Watch for these signs:
- Unpleasant smell:A sour or musty odor means bacteria are growing inside.
- Change in texture:If your sponge feels sticky, rough, or breaks apart easily, it’s time to clean or replace it.
- Visible stains:Makeup residue that won’t wash out signals deep buildup.
- Breakouts or irritation:If your skin starts reacting after using your sponge, bacteria or dirt might be the cause.
Don’t wait for these signs to appear. Regular cleaning prevents these issues and keeps your skin happy. How often do you check your sponge for these red flags?
When To Replace Your Sponge
Knowing when to replace your makeup sponge helps maintain flawless skin. Old sponges can harbor bacteria and lose their effectiveness. Timely replacement keeps your skin healthy and your makeup smooth.
Wear And Tear Indicators
Check your sponge regularly for signs of damage. Look for tears or holes in the material. If the sponge feels rough or crumbly, it is time to replace it. A sponge that no longer bounces back after squeezing shows it is worn out.
Hygiene Considerations
Sponges absorb oils, dirt, and bacteria over time. Even with cleaning, some buildup remains inside. Using a dirty sponge can cause skin irritation or breakouts. Replace your sponge every 1 to 3 months to avoid these risks. If you notice a bad smell, throw it away immediately.
Frequently Asked Questions
How Often Should I Clean Makeup Sponges?
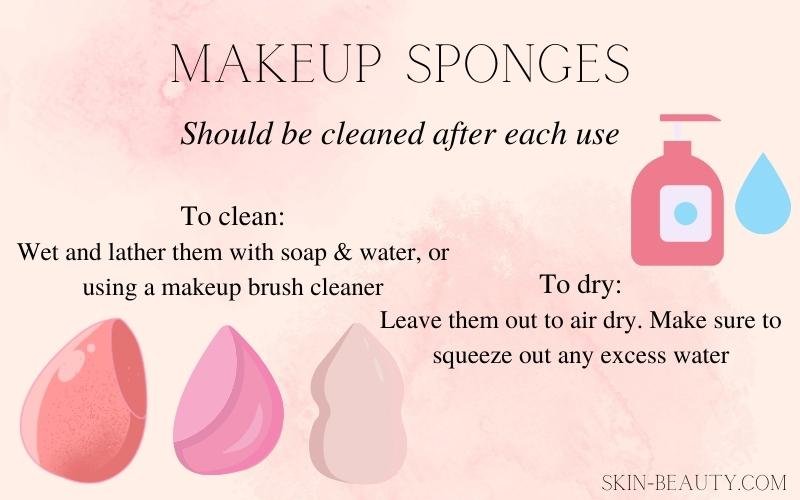
Clean your makeup sponges after every use to prevent bacteria buildup. Regular cleaning ensures better makeup application and skin health. Deep clean them weekly for thorough hygiene. This habit extends the sponge’s lifespan and keeps your skin clear of breakouts.
What Is The Best Method To Clean Makeup Sponges?
Use a gentle cleanser or baby shampoo with warm water. Soak the sponge, then gently squeeze out dirt and makeup. Rinse thoroughly until water runs clear. Avoid harsh scrubbing to prevent damage. Air dry completely before next use to maintain sponge quality.
Can I Clean Makeup Sponges In The Washing Machine?
It’s not recommended to clean makeup sponges in the washing machine. The machine can tear or deform the sponge. Hand washing with a mild cleanser is safer and more effective. This method preserves the sponge’s texture and cleaning efficiency.
How Do I Know If My Makeup Sponge Needs Replacement?
Replace your makeup sponge every 3 months or when it tears. Discoloration or persistent odor also signals it’s time to replace. Regular replacement prevents bacteria buildup and skin irritation. Keeping sponges fresh ensures flawless makeup application and better skin health.
Conclusion
Keeping makeup sponges clean is important for healthy skin. Regular cleaning removes bacteria and makeup residue. Always use mild soap and warm water. Gently squeeze and rinse until the water runs clear. Let them air dry completely before use. Clean sponges extend their lifespan and enhance makeup application.
Consistent care saves money and improves hygiene. Your skin will thank you for the effort. Remember, a clean sponge equals a fresh face. Keep your routine simple and effective. You’ll notice the difference with cleaner, healthier skin. Happy cleaning!
