You’ve probably invested in some high-quality makeup sponges to ensure your beauty routine is flawless. But over time, these handy tools can become a breeding ground for bacteria, leading to breakouts and uneven makeup application.
You might wonder, “How do I clean makeup sponges effectively without damaging them? ” Well, you’re in the right place. In this guide, you’ll discover simple and effective cleaning techniques that will keep your makeup sponges fresh and extend their lifespan.
Imagine the confidence of knowing your tools are as spotless as your makeup looks. Ready to give your beauty routine a clean sweep? Let’s dive in!
Why Clean Makeup Sponges Matter
Keeping makeup sponges clean is important for healthy skin and better makeup results. Dirty sponges hold onto dirt, oil, and old makeup. This can cause skin problems and affect how your makeup looks. Regular cleaning stops these issues and keeps your tools fresh.
Preventing Bacteria Build-up
Makeup sponges collect bacteria from your skin and environment. Bacteria grow quickly on damp, dirty sponges. This can cause acne, redness, and infections. Cleaning sponges kills germs and keeps your skin safe. Clean sponges mean fewer skin problems and a healthier face.
Extending Sponge Lifespan
Makeup sponges are an investment. Dirt and makeup residue break down sponge material over time. Cleaning removes buildup that damages the sponge. Well-maintained sponges last longer and stay soft. This saves money and reduces waste.
Improving Makeup Application
Clean sponges blend makeup smoothly and evenly. Dirt and oils create patches and streaks. Clean sponges absorb the right amount of product. This gives a natural, flawless finish. Clean tools help your makeup look its best every time.
Tools And Products Needed
Cleaning makeup sponges requires specific tools and products to work well. Using the right cleanser and cleaning tools helps remove makeup, oils, and bacteria effectively. This keeps your sponge fresh and extends its life.
Choosing gentle but effective products is important. Strong chemicals can damage the sponge. The right tools make cleaning easier and faster, giving better results every time.
Types Of Cleansers
- Liquid soap: Mild and easy to use for daily cleaning.
- Solid cleansing bars: Gentle on sponges and good for deep cleaning.
- Specialized sponge cleansers: Made specifically for makeup tools.
- Baby shampoo: Soft formula that cleans without harsh chemicals.
- Oil-based cleansers: Break down stubborn makeup quickly.
Additional Cleaning Tools
- Mesh laundry bag: Protects sponges in the washing machine.
- Silicone cleaning pad: Helps scrub and remove residue easily.
- Small bowl: For soaking sponges in cleanser solutions.
- Soft brush: Reaches deep inside pores for thorough cleaning.
- Clean towel: For drying sponges after washing.
Step-by-step Cleaning Process
Cleaning your makeup sponge properly can extend its life and keep your skin healthy. The process doesn’t have to be complicated or time-consuming. Follow these simple steps to make sure your sponge is fresh and ready for flawless makeup application.
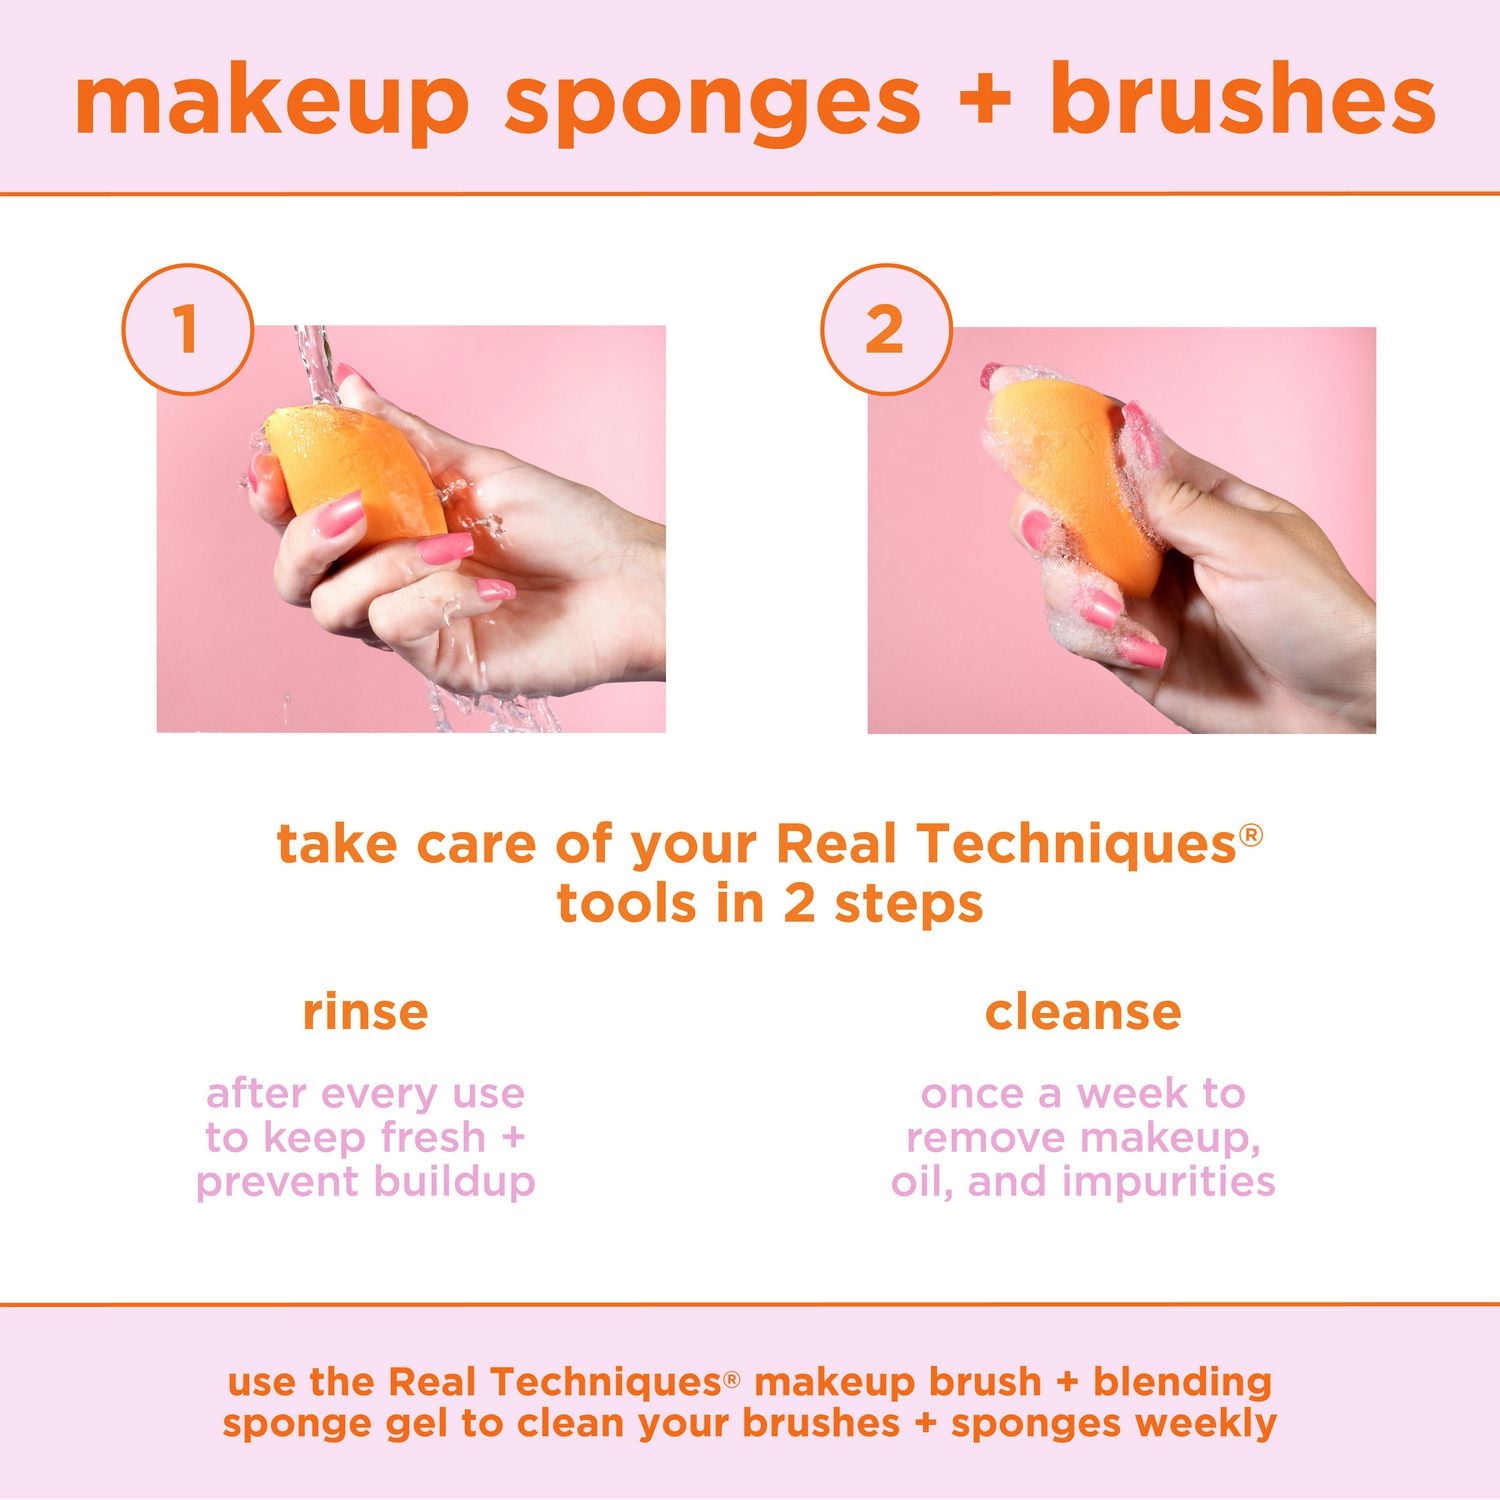
Rinsing The Sponge
Start by holding your sponge under warm running water. Squeeze it gently to let the water soak in and loosen the makeup trapped inside. This step helps break down surface residue before you apply any cleanser.
Applying Cleanser
Use a gentle cleanser designed for makeup tools or a mild soap you trust. Add a small amount directly onto the damp sponge. Avoid harsh detergents that can damage the sponge or irritate your skin later.
Massaging And Lathering
Work the cleanser into the sponge by squeezing and massaging it with your fingers. Focus on areas with visible stains or makeup buildup. This action lifts dirt and oils from deep within the sponge’s pores.
Rinsing Thoroughly
Rinse the sponge under warm water again, squeezing until all soap and makeup traces disappear. Check the water color—clear means you’re done. If it’s still tinted, repeat the lather and rinse steps to avoid residue.
Drying Tips
After cleaning, gently press the sponge with a clean towel to remove excess water. Place it in a well-ventilated area to air dry completely before your next use. Avoid storing it in closed containers to prevent mold growth.
Credit: www.teenvogue.com
Quick Cleaning Between Uses
Quick cleaning of makeup sponges helps keep them fresh between uses. This saves time and keeps makeup looking flawless. You can remove surface makeup and oils without a full wash.
Using simple tools makes cleaning fast. This way, you avoid buildup and bacteria growth on your sponge. It also extends the life of your sponge.
Using Makeup Wipes
Makeup wipes work well for quick sponge cleaning. Gently press the sponge onto the wipe. This lifts off most makeup and dirt.
Use a clean section of the wipe each time. Avoid rubbing too hard to keep the sponge intact. Wipes are easy to carry and perfect for travel.
Spray Cleaners For On-the-go
Spray cleaners designed for makeup tools offer fast cleaning. Spray the cleaner directly on the sponge. Let it sit for a few seconds.
Then, wipe the sponge with a clean cloth or tissue. This removes makeup residues and refreshes the sponge quickly. Spray cleaners are handy for busy days and quick touch-ups.
Common Mistakes To Avoid
Cleaning makeup sponges is essential for skin health and sponge longevity. Avoiding common mistakes helps keep sponges effective and bacteria-free. Many people unknowingly damage their sponges or reduce their lifespan through simple errors. Understanding these mistakes ensures proper care and better makeup application.
Using Harsh Products
Harsh soaps or detergents can break down the sponge material. Avoid bleach, alcohol, or strong cleansers that dry out the sponge. Gentle cleansers or baby shampoo work best. They clean without damaging the texture or causing tears. Harsh products also irritate your skin after use.
Skipping Drying Time
Using a damp sponge can cause bacteria to grow quickly. Always let your sponge dry fully before the next use. Place it in a well-ventilated area, away from closed containers. Avoid storing sponges in damp places like makeup bags. Proper drying keeps your sponge clean and safe.
Credit: www.walmart.ca
When To Replace Your Sponge
Knowing when to replace your makeup sponge is just as important as cleaning it properly. A sponge that’s past its prime can harbor bacteria and affect how your makeup looks. Let’s dive into the signs that tell you it’s time to say goodbye to your old sponge.
Visible Wear And Tear
Check your sponge regularly for tears, holes, or fraying edges. Even small rips can trap dirt and bacteria, making it unsafe to use on your skin. If you notice the sponge breaking apart or losing its shape, it’s a clear sign it’s time to replace it.
Persistent Stains And Odor
Sometimes, no matter how well you clean your sponge, it still holds onto stains or develops a bad smell. This means bacteria and makeup residue have built up deep inside. If your sponge smells off or looks stained after washing, it’s better to get a new one.
Time Frame For Replacement
- Most experts recommend replacing your makeup sponge every 1 to 3 months.
- If you use your sponge daily, lean towards replacing it closer to one month.
- Less frequent users might stretch it closer to three months but watch for other signs.
How often do you really check your sponge for damage or bacteria? Taking a moment to inspect it can save your skin from irritation or breakouts.

Credit: www.rmsbeauty.com
Frequently Asked Questions
How Often Should I Clean Makeup Sponges?
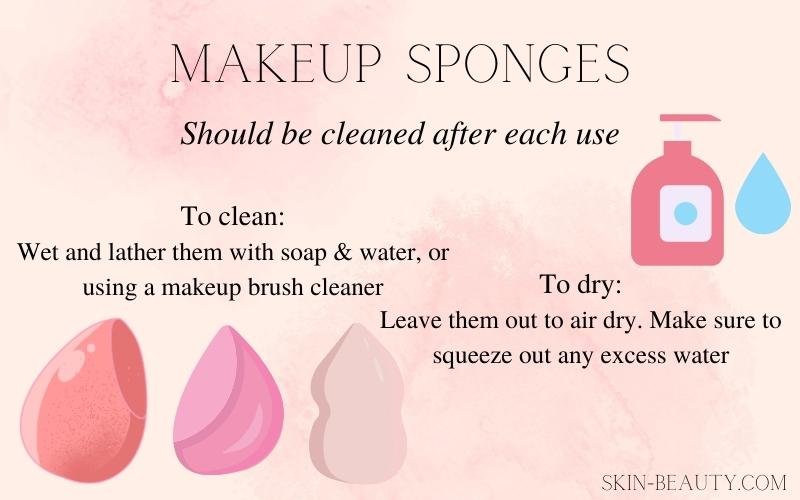
You should clean makeup sponges after every use. This prevents bacteria buildup and ensures better makeup application. Regular cleaning extends sponge lifespan and keeps skin healthy.
What Is The Best Way To Clean Makeup Sponges?
Use gentle soap or a makeup sponge cleaner with warm water. Massage the sponge thoroughly, rinse until water runs clear, then air dry. Avoid harsh chemicals that can damage the sponge.
Can I Use A Washing Machine To Clean Sponges?
It’s not recommended to use a washing machine. Machine washing can tear delicate makeup sponges. Hand washing is gentler and more effective for removing makeup residues.
How Long Does It Take For Makeup Sponges To Dry?
Makeup sponges typically dry in 4 to 6 hours. Place them in a well-ventilated area to speed up drying. Avoid storing damp sponges to prevent mold growth.
Conclusion
Cleaning makeup sponges keeps your skin healthy and makeup fresh. Use gentle soap and warm water to remove dirt. Rinse well until the sponge feels clean. Let it air dry completely before the next use. Clean sponges last longer and work better every time.
Make cleaning a regular habit to avoid bacteria buildup. Simple steps, big difference. Take care of your tools, and your skin will thank you.
