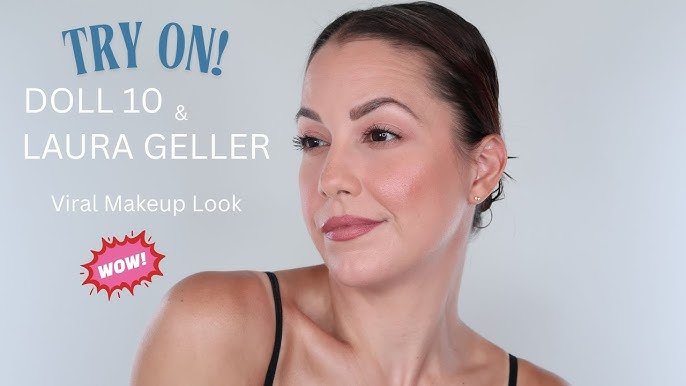
Imagine effortlessly achieving that flawless, radiant look every time you apply makeup. You can turn heads and feel confident all day long with Laura Geller’s exceptional range of products.
Whether you’re prepping for a special occasion or simply enhancing your natural beauty for everyday wear, mastering the art of applying Laura Geller makeup can transform your routine. This guide is your key to unlocking the secrets behind a perfect finish.
As you read on, you’ll discover step-by-step techniques, insider tips, and the must-have products that will elevate your makeup game. Get ready to embrace your best self and experience the power of stunning, long-lasting beauty. Dive in now and let’s begin your transformation!
Prep Your Skin
Preparing your skin before applying Laura Geller makeup ensures a smooth and flawless finish. Clean, hydrated skin helps makeup stick better and last longer. It also prevents dryness and uneven patches. Take time to care for your skin for the best results.
Cleanse And Moisturize
Start with a gentle cleanser to remove dirt and oil. Clean skin creates a fresh base for makeup. Use lukewarm water to avoid drying out your face. Pat your skin dry with a soft towel.
Apply a light moisturizer suitable for your skin type. Moisturizer softens the skin and prevents flaking. Give it a few minutes to absorb fully before moving on. This step keeps your skin balanced and smooth.
Prime For Longevity
Use a primer to create a smooth canvas for makeup. Primer fills in fine lines and minimizes pores. It helps makeup stay put throughout the day. Dab a small amount on your face and blend gently.
Select a primer based on your skin needs—mattifying for oily skin or hydrating for dry skin. This step boosts makeup wear and enhances the look of Laura Geller products.
Choose The Right Products
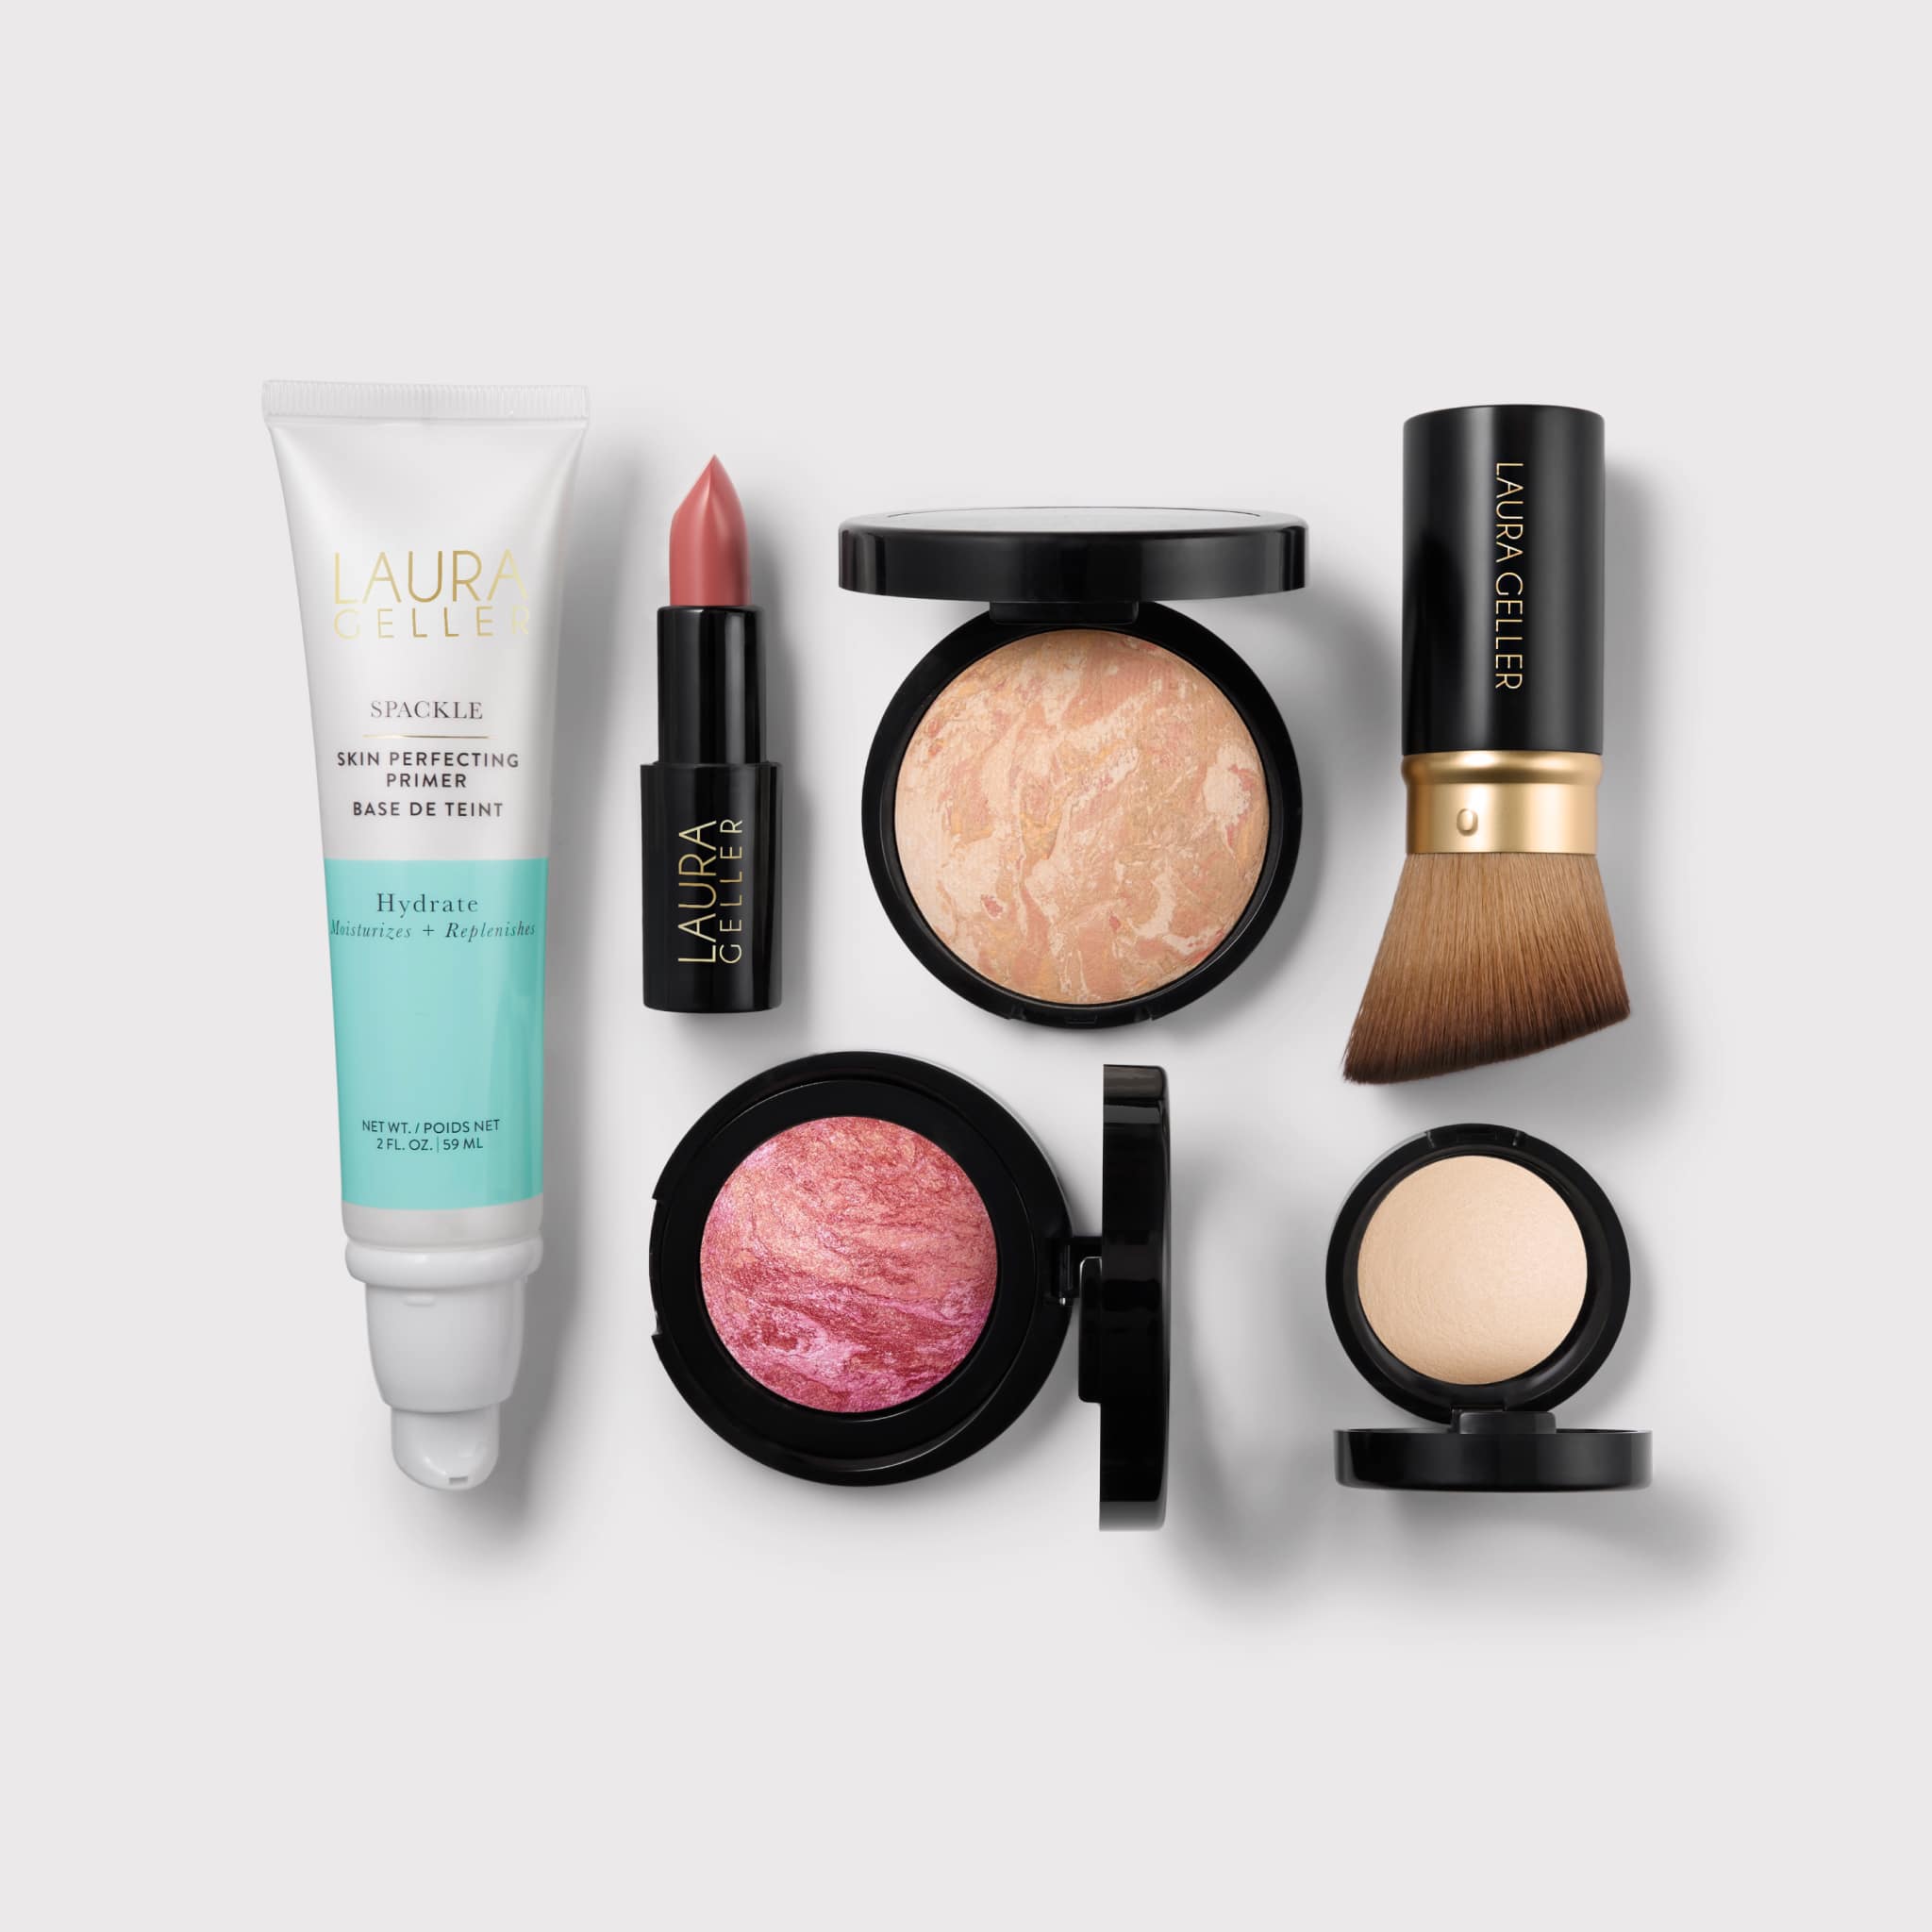
Choosing the right Laura Geller makeup products sets the base for a flawless look. It ensures your skin feels comfortable and looks natural all day. Selecting the proper foundation, concealer, and setting powder creates a smooth canvas for the rest of your makeup. Focus on products that match your skin type and tone for the best results.
Foundation Selection
Pick a foundation that matches your skin tone closely. Laura Geller offers various formulas for different skin types. For oily skin, choose a matte finish to control shine. Dry skin benefits from a hydrating, dewy foundation. Test shades on your jawline to find the perfect match. Apply with a damp sponge for an even, natural look.
Concealer Tips
Use concealer to cover dark circles and blemishes. Laura Geller’s concealers are creamy and blend easily. Choose a shade one or two tones lighter than your foundation for under the eyes. Dab gently with your finger or brush to blend without wiping off the foundation. Build coverage slowly to avoid a cakey finish.
Setting Powders
Setting powder locks your makeup in place and reduces shine. Laura Geller’s translucent powders work well on all skin tones. Apply lightly with a fluffy brush for a soft, matte finish. Focus on areas prone to oiliness, like the T-zone. Avoid heavy layers to keep the skin looking fresh and natural.
Apply Foundation Smoothly
Applying foundation smoothly ensures an even and natural look. It creates a perfect base for the rest of your makeup. A smooth foundation hides imperfections and evens out skin tone. Using the right tools and blending techniques makes a big difference. It helps the foundation last longer and look flawless.
Tools To Use
- Makeup sponge: damp for a natural finish
- Flat foundation brush: for precise application
- Buffing brush: to blend and soften edges
- Clean fingers: for a quick and easy blend
Blending Techniques
Start with small amounts of foundation. Dot it on your forehead, cheeks, nose, and chin. Use gentle, tapping motions with a damp sponge. This pushes the product into the skin without streaks.
With a brush, use circular motions to blend outward. Focus on the edges near the hairline and jaw for a seamless look. Avoid dragging the skin to prevent irritation.
Fingers warm the foundation, making it easier to blend. Use light patting and smoothing motions. Always blend down the neck to match your face color.
Perfect Your Concealer
Perfecting your concealer application can transform your entire makeup look. It’s not just about covering up; it’s about enhancing your natural beauty with the right technique and product placement. Laura Geller’s concealers are known for their creamy texture and great coverage, but using them correctly makes all the difference.
Target Areas
Focus on the areas where you need the most coverage or brightness. Common spots include under the eyes, around the nose, and any blemishes or redness.
If you struggle with dark circles, apply the concealer in a triangular shape under your eyes. This brightens and lifts your face better than just dabbing it in a circle.
Don’t forget to cover any discoloration or spots that stand out on your skin. Laura Geller’s concealer can also double as a highlighter if applied to the center of your forehead or the bridge of your nose.
Blending Tips
Blending is where many makeup routines fall short. Use a damp beauty sponge or your fingertip to gently tap the concealer into your skin instead of rubbing it.
Pressing the product helps it melt into your skin and avoids wiping away the coverage. Blend the edges well to avoid harsh lines and create a natural finish.
Think about layering thin amounts rather than applying a thick layer all at once. This approach gives you control and a flawless look without cakiness.
Set Your Base
Setting your base is the first crucial step in applying Laura Geller makeup. A smooth, even base creates the perfect canvas for the rest of your look. It helps makeup last longer and look flawless. Focus on preparing your skin and choosing the right products to enhance your natural beauty.
Choosing The Powder
Select a Laura Geller powder that suits your skin type and tone. The brand offers powders with different finishes: matte, radiant, or sheer glow. For oily skin, a matte powder controls shine and reduces excess oil. Dry skin benefits from a radiant powder that adds a healthy glow. Consider your skin color to find a shade that blends well. Translucent powders work well for all skin tones and set makeup without adding color.
Application Methods
Use the right tools for smooth and even powder application. A fluffy brush works best for light coverage and a natural finish. For more coverage, use a dense powder puff or sponge. Press the powder gently onto your skin instead of rubbing. Focus on areas that get oily, like the T-zone. Blend well around the edges to avoid harsh lines. Layer powder lightly to avoid a cakey look. Always remove excess powder from your brush or puff before applying.
Credit: www.laurageller.com
Add Color And Dimension
Adding color and dimension with Laura Geller makeup transforms your look from flat to fresh instantly. It’s about placing the right shades in the right spots to enhance your natural features. This section will guide you through blush, bronzer, and highlighter techniques that bring your complexion to life.
Blush Placement
Start by smiling gently to find the apples of your cheeks. Apply Laura Geller’s blush there for a natural flush that looks like a healthy glow. Blend upwards toward your temples to lift your face and keep the color soft.
Think about your face shape when choosing placement:
- Round faces:Apply blush slightly above the apples and blend toward the ears to add definition.
- Oval faces:Focus on the apples and blend softly outwards.
- Square faces:Place blush on the apples and blend in circular motions for softness.
Bronzer Techniques
Use bronzer to warm your skin and create subtle shadows that sculpt your face. Laura Geller’s bronzers have a natural finish, so build the color gradually. Apply bronzer with a fluffy brush where the sun naturally hits: forehead, cheekbones, and jawline.
Try the “3” or “E” shape for bronzing:
- Start at the forehead near your hairline
- Sweep down to your cheekbones
- Finish along your jawline
Does your bronzer look muddy or orange? Check your lighting and blend well to avoid harsh lines.
Highlighting
Highlighting adds brightness and lifts your features instantly. Use Laura Geller’s highlighters on the high points of your face where light naturally hits. These areas include the tops of your cheekbones, brow bones, the bridge of your nose, and the cupid’s bow.
Apply sparingly to avoid an overly shiny look. A little goes a long way—start with a small amount and build up if needed. Have you noticed how a subtle highlight can make your eyes pop and skin look more awake?
Enhance The Eyes
Enhancing the eyes brings focus and depth to your face. Laura Geller makeup offers rich colors and smooth textures. These products highlight your eyes with natural beauty and lasting wear. Use simple techniques to make your eyes pop and look fresh all day.
Eyeshadow Application
Start with a light base shade on your lids for an even look. Use a medium color on the crease to add depth. Blend well to avoid harsh lines. Choose shimmer shades to brighten the inner corners of the eyes. Laura Geller’s baked eyeshadows are perfect for smooth application. They stay vibrant without creasing or fading.
Eyeliner Tips
Apply eyeliner close to the lash line for a natural effect. Use a pencil liner for soft, smudged looks. Gel liners create sharp, defined lines for a bolder style. For a lifted eye appearance, extend the liner slightly beyond the outer corner. Laura Geller’s waterproof formulas ensure long-lasting wear without smudging.
Mascara Techniques
Start at the roots of your lashes and wiggle the wand upward. This lifts and separates lashes for a fuller look. Apply multiple coats for extra volume, but avoid clumping. Use a waterproof mascara to keep lashes intact all day. Laura Geller mascaras nourish lashes while adding length and curl.

Credit: www.youtube.com
Shape Your Brows
Shaping your brows enhances your entire makeup look. Well-defined brows frame your face and highlight your eyes. Laura Geller makeup offers excellent products for neat, natural brows. Follow simple steps to fill and set your brows perfectly.
Filling And Defining
Start with a brow pencil or powder from Laura Geller. Choose a shade close to your natural brow color. Use light, short strokes to fill sparse areas. Focus on the arch and tail of your brows.
Define the shape by outlining the edges softly. Avoid harsh lines for a natural look. Blend the product gently with a spoolie brush. This softens the color and smooths the shape.
Setting Brows
Use a clear or tinted brow gel to keep hairs in place. Brush the gel upwards and outwards for a lifted effect. Let the gel dry to lock your brow shape. This step ensures your brows stay neat all day.
Laura Geller’s brow gel adds a subtle shine without stickiness. It helps maintain a polished finish for your makeup routine.
Finish With Lips
Finishing your Laura Geller makeup look with the perfect lip detail can truly elevate your entire appearance. The right lip liner and color not only define your lips but also complement the rest of your makeup. Paying attention to this final step ensures your look feels polished and complete.
Lip Liner Use
Using a lip liner helps you shape and define your lips precisely. Choose a liner that matches your natural lip color or the shade of your lipstick for a seamless look.
Start by outlining your lips gently, following your natural lip line. If you want fuller lips, slightly overline just outside your natural edge, but keep it subtle to avoid an artificial look.
Filling in your lips with the liner before applying lipstick can also extend the wear of your lip color. This creates a base that grips the lipstick better and prevents feathering.
Lip Color Application
Applying Laura Geller’s lip color is straightforward and rewarding. Use the lipstick or lip gloss to fill in your lips evenly, starting from the center and moving outward for smooth coverage.
If you prefer a bold look, layer the product for intensity. For a softer effect, dab with your finger to blend and soften the edges.
Wondering how to keep your lips looking fresh all day? Try blotting with a tissue after the first layer and then apply a second coat. This simple trick boosts longevity and vibrancy.
Set The Look
Setting your Laura Geller makeup correctly is essential to keep your look fresh and flawless throughout the day. It locks in all the hard work you put into your makeup application and prevents smudging or fading. Let’s talk about how you can perfectly set your look and finish with those small details that make a big difference.
Setting Spray Benefits
Setting spray helps your makeup stay put longer, especially if you have a busy day ahead. It creates a lightweight barrier that guards against sweat, oil, and environmental factors. Using Laura Geller’s setting spray adds a natural glow without making your face feel sticky or heavy.
Besides longevity, setting spray enhances the overall finish of your makeup. It can soften powdery textures and blend everything seamlessly. Have you ever noticed how a mist can bring life back to your look after a few hours? That’s the magic of a good setting spray.
Final Touches
After setting your makeup, check for any areas that need a quick fix. Maybe a bit more highlighter on your cheekbones or a touch of Laura Geller’s baked blush to add warmth. These little tweaks enhance your features and make your makeup pop.
Don’t forget your lips and eyes. A swipe of gloss or a fresh coat of mascara can renew your look instantly. What small detail do you usually add last to complete your makeup? Experiment with different final touches to find what suits your style best.

Credit: lipstickqueen.com
Frequently Asked Questions
How Do I Start Applying Laura Geller Makeup?
Begin with a clean, moisturized face. Use Laura Geller’s primer to create a smooth base. This helps makeup last longer and look flawless.
What Is The Best Laura Geller Product For Beginners?
Try the Laura Geller Baked Foundation. It offers buildable coverage and a natural finish, ideal for makeup beginners seeking an easy application.
How To Apply Laura Geller Baked Blush Correctly?
Use a fluffy brush to pick up the baked blush. Smile and gently sweep it on your cheeks for a natural, radiant glow.
Can I Use Laura Geller Makeup On Sensitive Skin?
Yes, most Laura Geller products are dermatologically tested and suitable for sensitive skin. Always patch test new products before full application.
Conclusion
Applying Laura Geller makeup is simple and fun. Start with clean skin for best results. Use the right tools for smooth application. Blend well to achieve a natural look. Choose shades that match your skin tone. Take your time to avoid mistakes.
Practice helps you feel more confident. Enjoy the process and express yourself. Your makeup can brighten your day. Try these tips and see the difference.
