Are you looking to give your nails a fresh, flawless look without spending hours at the salon? Sally Beauty Nail Tips could be exactly what you need.
These easy-to-use tips can transform your nails quickly, making them look professional and stylish right at home. Whether you want longer nails, a perfect shape, or a quick fix for chipped polish, Sally Beauty has options that fit your style and budget.
Keep reading to discover how these nail tips can elevate your manicure game and boost your confidence every time you show off your hands.

Credit: www.sallybeauty.com
Choosing The Right Nail Tips
Choosing the right nail tips can transform your manicure from basic to stunning. It’s not just about picking any tips off the shelf; the best choice depends on your nail shape, lifestyle, and the quality of the materials. Understanding these factors helps you get a natural look that lasts longer and feels comfortable.
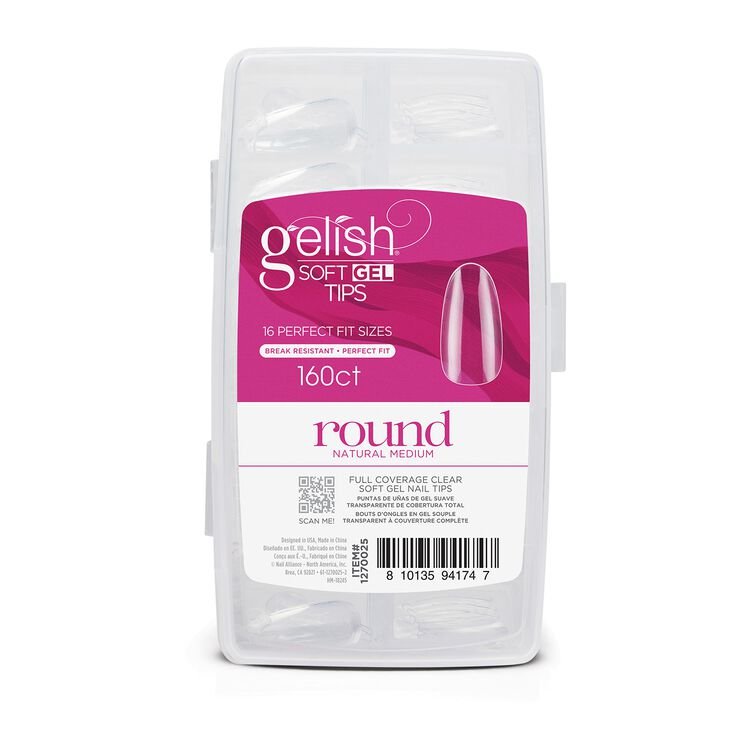
Types Of Nail Tips
Nail tips come in various styles to match different preferences and uses. You’ll find:
- Full Cover Tips:These cover the entire nail and offer a seamless extension.
- French Tips:Designed for a classic look with a white edge.
- Stiletto Tips:Pointed and dramatic, perfect for bold styles.
- Square or Squoval Tips:Offer a natural, neat finish ideal for everyday wear.
Choosing a style that fits your daily activities can save you from frequent repairs or discomfort.
Matching Tips To Nail Shape
Your natural nail shape should guide your tip choice for the best fit and look. If your nails are rounded, oval tips complement well, enhancing the soft curves. For square nails, squoval or straight tips maintain a sharp but natural appearance.
Have you noticed how the wrong tip shape can make nails look unnatural or feel awkward? Matching shapes helps your nails blend smoothly and reduces the chance of lifting or breakage.
Materials And Quality
The quality of nail tips affects both durability and comfort. Look for tips made from flexible, high-quality plastic that won’t crack easily. Some Sally Beauty tips use a blend that offers strength without feeling heavy.
Cheap tips might save money upfront but often lead to snapping or peeling, costing more time and effort in the long run. Investing in good materials means your nails stay flawless longer and feel lighter on your fingers.
Preparing Your Nails
Preparing your nails before applying Sally Beauty nail tips ensures a long-lasting, smooth finish. Clean, well-shaped nails help nail tips stick better and look natural. Follow simple steps to get your nails ready.
Cleaning And Trimming
Start by washing your hands with warm water and soap. Remove any old polish using a gentle nail polish remover. Trim nails to a short length to avoid bulk under the tips.
- Use nail clippers to cut nails straight across.
- Remove dirt and oils that block adhesion.
- Dry your nails completely before moving on.
Buffing And Shaping
Buff your nails lightly to remove shine. This creates a rough surface for better glue grip. Shape nails with a file to smooth edges and fit the tips perfectly.
- Use a fine-grit buffer for gentle buffing.
- File nails in one direction to prevent splitting.
- Shape nails to match the curve of the nail tips.
Cuticle Care
Push back cuticles gently using a cuticle pusher. Avoid cutting them to prevent infections. Moisturize cuticles with a light oil to keep them healthy and soft.
- Soak nails in warm water to soften cuticles.
- Use a wooden stick to push cuticles back.
- Apply cuticle oil to hydrate and protect.
Applying Sally Beauty Nail Tips
Applying Sally Beauty Nail Tips is a simple way to get stylish nails at home. The process starts with choosing the right size and ends with blending the tip smoothly. Each step matters to ensure your nails look natural and last longer.
Sizing And Fitting Tips
Select nail tips that match your natural nail width. Avoid tips too wide or too narrow. Use a nail file to adjust the edges gently. Test each tip on your finger before gluing. Proper fit prevents lifting and discomfort during wear.
Gluing Techniques
Apply a thin layer of nail glue to the tip’s well area. Also, put a small amount on your natural nail for better hold. Press the tip firmly on your nail for 10 to 15 seconds. Avoid excess glue to prevent mess and bubbles. Work quickly but carefully for best results.
Seamless Blending
After the glue dries, trim the tips to your desired length. Use a fine-grit nail file to blend the seam between your nail and the tip. File gently in one direction to avoid damage. Smooth blending makes the nail tips look natural and polished. Finish with your favorite nail polish or design.
Nail Art And Design Ideas
Nail art is a fantastic way to express your personality and creativity. With Sally Beauty Nail Tips, you can experiment with a variety of designs that suit any mood or occasion. Whether you prefer subtle elegance or eye-catching drama, there’s a style waiting for you to try.
Classic French Tips
French tips never go out of style. They offer a clean, polished look that works well for both everyday wear and special events. You can start with the traditional white tip on a nude or pale pink base for a timeless finish.
Want to add a twist? Try using pastel colors instead of white or adding a thin glitter line just below the tip. These small changes can make your French manicure stand out without losing its classic charm.
Bold Colors And Patterns
Are you ready to make a statement? Bright reds, deep blues, and vibrant purples can transform your nails into a bold canvas. Pair these colors with patterns like stripes, polka dots, or abstract shapes to create fun and lively designs.
Think about mixing matte and glossy finishes for added texture. I once tried a neon pink base with black geometric lines, and the contrast was stunning. What bold color would you choose to highlight your style?
Using Nail Stickers And Rhinestones
Not confident in your freehand skills? Nail stickers and rhinestones are your best friends. They make it easy to add intricate designs and sparkle without much effort.
- Choose stickers with floral or geometric patterns for quick decoration.
- Use rhinestones to highlight the corners or center of your nails for a 3D effect.
- Try combining both for a unique, textured look.
Remember to seal everything with a top coat to keep your art lasting longer. Have you tried using embellishments to elevate your nail game?
Maintaining Your Nail Tips
Keeping your Sally Beauty nail tips looking fresh and flawless takes more than just a quick application. Proper maintenance ensures they last longer and stay strong. Let’s dive into some practical ways to care for your nail tips every day, avoid common mistakes, and know the right time to replace them.
Daily Care Tips
Start by gently cleaning your nails with a soft brush and mild soap to remove dirt without damaging the tips. Moisturize your cuticles daily to prevent dryness and peeling around the nails. Avoid using your nails as tools; this simple habit protects your tips from unnecessary stress and breakage.
Wear gloves when doing household chores like washing dishes or gardening. Water and harsh chemicals can weaken the adhesive and cause lifting. Applying a clear top coat every few days adds an extra layer of protection and keeps your nails shiny.
Avoiding Common Mistakes
Many people rush the drying process, which leads to smudging or lifting. Patience is key—allow each layer of polish or glue to dry completely before moving on. Avoid peeling or picking at your nail tips, even if they start to lift; this can tear your natural nails.
Steer clear of acetone-based removers, which can weaken the nail tips and cause them to break. Instead, opt for non-acetone polish removers or soak your nails gently if you need to remove polish. Also, don’t skip regular check-ups on your nails—catching small issues early helps prevent bigger problems.
When To Replace Tips
Notice any cracks, chips, or persistent lifting? These are signs your nail tips need replacing. If you feel discomfort or your nails look uneven despite regular maintenance, it’s time for a fresh set. Overgrown natural nails beneath the tips can push them up, so replacing them every 2-3 weeks is a good rule of thumb.
Ignoring damage can lead to infections or weakened nails. Would you rather fix a small chip now or deal with a painful nail issue later? Listening to your nails and replacing tips when needed keeps them healthy and beautiful.

Credit: www.amazon.ca
Troubleshooting Common Issues
Troubles with Sally Beauty Nail Tips can happen. These issues often cause frustration and spoil your manicure. Understanding common problems helps keep your nails looking great longer. Quick fixes bring back the shine and strength of your nail tips. Follow simple tips to avoid damage and maintain a flawless look.
Dealing With Lifting Tips
Lifting happens when the nail tip separates from your natural nail. Dirt and moisture get trapped, causing discomfort and infection risk. To prevent lifting:
- Clean nails thoroughly before application.
- Use a strong adhesive designed for nail tips.
- Press the tip firmly and hold for a few seconds.
- Avoid water contact for the first hour after application.
If lifting starts, gently lift the tip and apply glue underneath. Press and hold it firmly until dry. Avoid pulling or forcing the tip off to protect your natural nail.
Fixing Broken Tips
Broken tips spoil the manicure’s look. They can cause sharp edges and discomfort. Fix small cracks quickly to avoid further damage. Use nail glue to seal cracks and hold pieces together. For bigger breaks, replace the tip for a neat finish. Always file the edges smooth to prevent catching on clothes or hair.
Preventing Nail Damage
Healthy nails need care and protection. Avoid using tips as tools to open things or scratch. Wear gloves when doing housework or gardening. Keep nails dry and clean to reduce infection risk. Moisturize cuticles daily to keep them soft. Regularly check for signs of damage or infection to act early.

Credit: www.sallybeauty.com
Frequently Asked Questions
What Are The Best Sally Beauty Nail Tips For Beginners?
Sally Beauty offers easy-to-use nail tips perfect for beginners. Their tips come in various sizes and shapes. They provide durable, natural-looking nails. You can find glue-on and press-on options. These nail tips help achieve salon-quality results at home.
How Do I Apply Sally Beauty Nail Tips Correctly?
Start by cleaning your nails and pushing back cuticles. Select the right tip size for each nail. Apply nail glue on the tip and natural nail. Press the tip firmly for 10 seconds. Shape and file the nails as desired after application.
Can Sally Beauty Nail Tips Be Reused?
Most Sally Beauty nail tips are designed for single use. However, with careful removal and cleaning, some tips can be reused. Avoid damaging the tips during removal. Proper storage after use helps maintain their shape and quality for reuse.
What Nail Glue Works Best With Sally Beauty Tips?
Sally Beauty offers strong adhesive nail glue compatible with their tips. Look for fast-drying, long-lasting nail glue for secure attachment. Ensure the glue is safe for natural nails. Using the right glue prevents lifting and extends nail tip wear time.
Conclusion
Sally Beauty offers helpful nail tips for everyone. These tips keep nails healthy and strong. Regular care makes a big difference. Clean nails prevent problems and look great. Sally Beauty provides quality products for nail care. Easy steps ensure beautiful results at home.
Experiment with colors for a fun change. Enjoy the process and relax. Nail care boosts confidence and style. Follow these tips for stunning nails every day. Sally Beauty helps you achieve the look you desire. Happy nail care!
